


 Phan Van Hoang
- 29/07/2026
- 155
Table of Contents [Hide]
1. What does it mean when bag sewing thread breaks right near the needle?
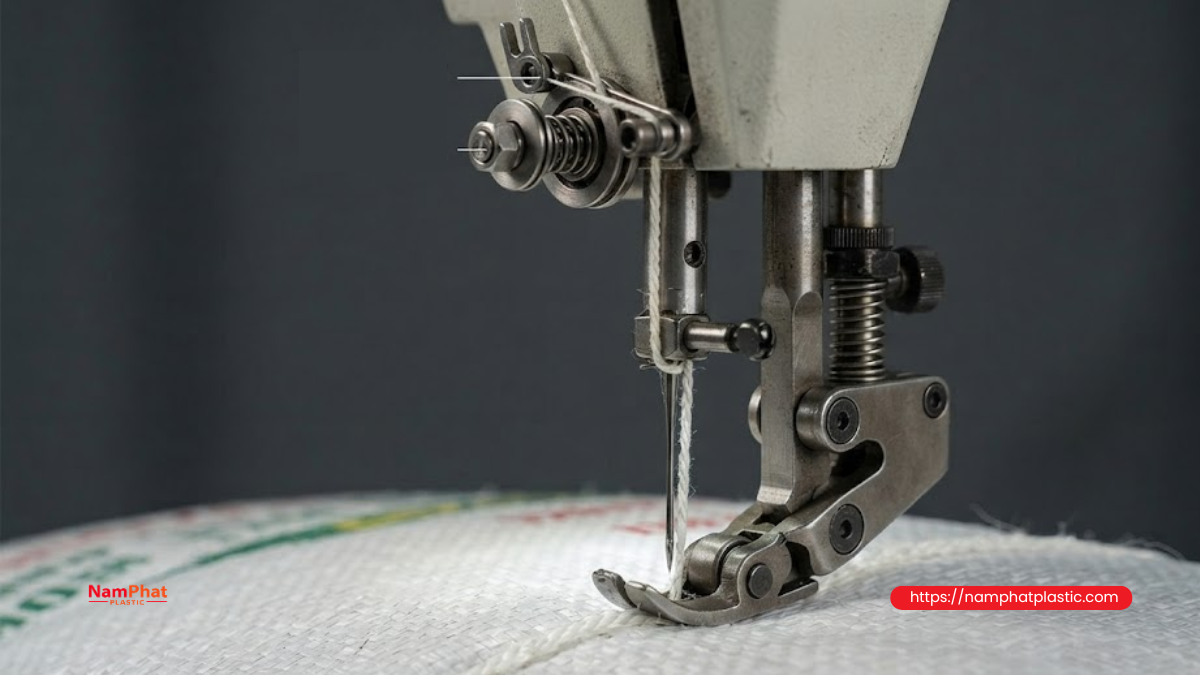
Bag sewing thread breaking right near the needle refers to a condition where the thread splits, becomes fuzzy, melts, or breaks completely around the needle eye, needle groove, or the section of thread that has just passed through the needle. This problem often occurs when the machine is running at high speed, when sewing many bags continuously, or when switching to a new batch of thread.
This is one of the common problems on handheld bag-closing machines and fixed industrial bag sewing machines. If the cause is not properly addressed, operators often have to reconnect the thread repeatedly, reducing productivity and causing unstable seam formation.
Thread breakage near the needle is not always caused by thread quality. In many cases, the actual cause is a worn needle, burrs inside the needle eye, a thread path that is catching the thread, excessive thread tension, or heat generated during sewing.
To solve the problem effectively, it is necessary to accurately observe the appearance of the broken thread end and determine when the problem occurs.
2. Signs that the thread is breaking in the area near the needle
Thread breaking near the needle often has several characteristic signs:
- The broken thread end is close to the needle eye or only a few centimeters from the needle.
- The thread becomes heavily hairy before breaking.
- The thread surface appears flattened, tangled, or loses its twist.
- The broken end becomes contracted, glossy, or forms a small lump that looks melted.
- The machine runs normally at low speed but the thread breaks when the speed increases.
- After replacing the needle, the frequency of thread breakage decreases noticeably.
- The thread breaks more often when sewing thick bags, multilayer bags, or folded edges.
- The seam has loose sections, skipped stitches, or fails to form a complete stitch loop.
Correctly identifying the breakage pattern helps technicians avoid replacing the thread or adjusting the machine based only on guesswork.
3. Why does bag sewing thread often break right near the needle?
3.1. The needle eye is scratched or has burrs
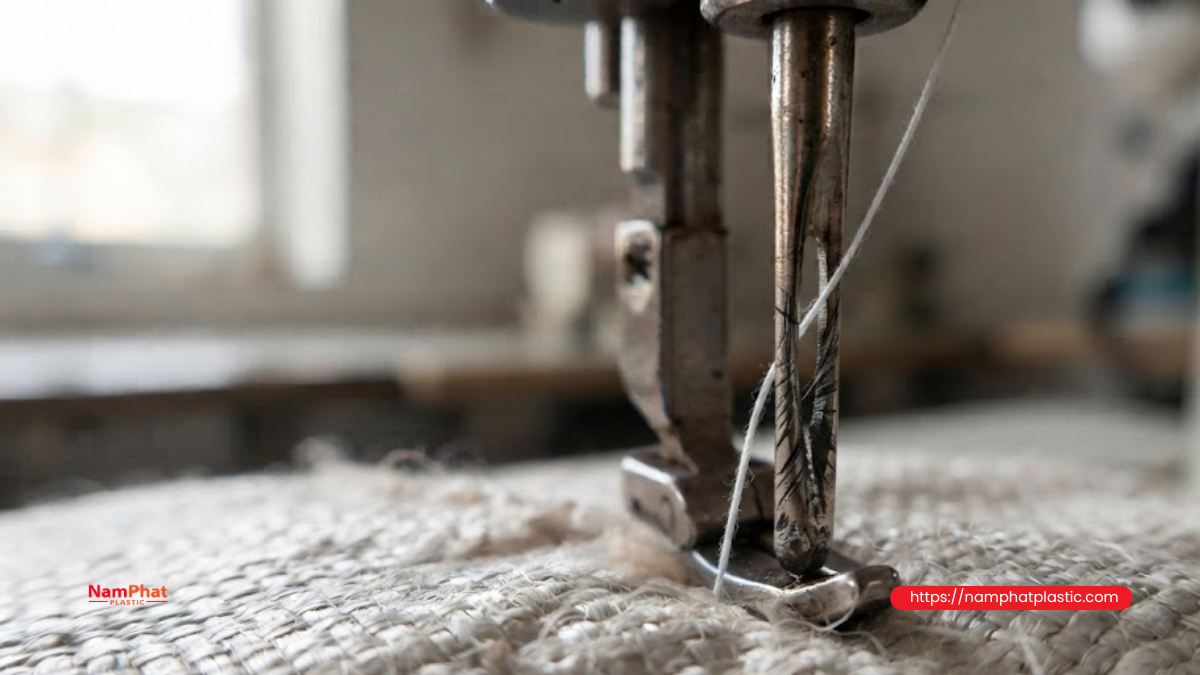
The needle eye is where the thread continuously slides through at high speed. When a small scratch, burr, or sharp edge appears inside the needle eye, the thread is scraped during every up-and-down cycle.
At first, the thread may only become slightly hairy. After repeated friction, the individual fibers are gradually cut and the thread eventually breaks close to the needle.
Burrs on the needle can form because of:
- The needle has been used for too long.
- The needle has struck the looper, needle plate, or another metal component.
- The needle is slightly bent but continues to be used.
- The needle has inconsistent manufacturing quality.
- The needle has been installed in the wrong direction.
Solution: Replace the needle with a new needle of the correct type. Do not rely only on visual inspection because even a very small scratch inside the needle eye can damage the thread when the machine runs at high speed.
3.2. The needle is too small for the thread size
When a large thread is used with a needle eye that is too narrow, the thread experiences excessive compression and friction each time it passes through the needle. The thread may become flattened, lose its twist, or become hairy before breaking.
This problem commonly occurs when a factory switches from 20/6 thread to 20/8 or 20/9 but continues using the same needle.
A suitable needle should ensure that:
- The needle eye is wide enough for the thread to pass through relatively smoothly.
- The needle groove can protect most of the thread body.
- The needle can penetrate the material without creating an excessively large hole.
- The thread is not tightly pinched when pulled through the needle eye.
Do not choose a needle that is too small simply to create a neat-looking stitch hole. If the thread is continuously subjected to friction, the seam will still be unstable.
3.3. The needle is too large or installed incorrectly
A needle that is too large can increase the force required to penetrate the material, causing stronger vibration and unstable thread movement. In some cases, an oversized needle can also cause the thread loop to form incorrectly, resulting in improper looper timing.
In addition to needle size, the installation position is also important. A needle installed too high, too low, in the wrong direction, or not fully inserted into the needle bar can cause:
- The thread to strike the looper.
- The thread loop to form incorrectly.
- The needle to move outside its standard path.
- The thread to become pinched or cut during stitch formation.
When replacing the needle, install it according to the needle groove orientation and the bevel direction specified for the particular bag sewing machine.
3.4. The needle becomes hot during continuous machine operation
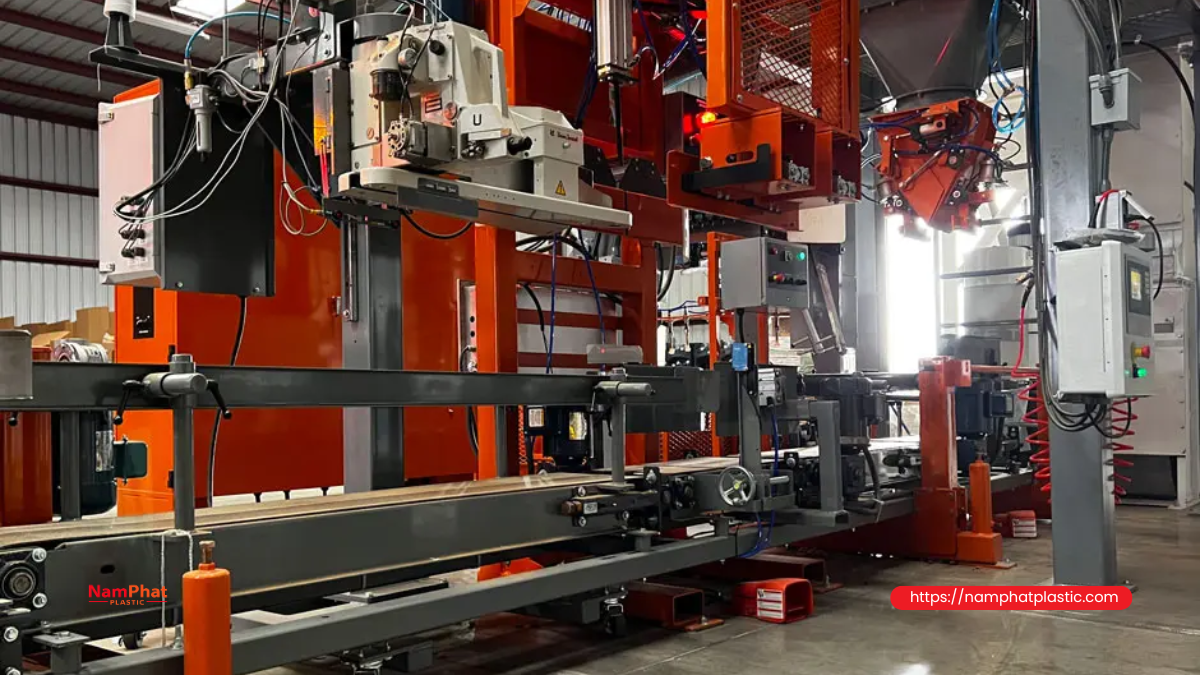
During high-speed sewing, friction between the needle and the material causes the needle temperature to rise. If the machine continuously sews thick bags, multiple layers, or folded bag edges, heat accumulates more quickly.
For threads made from thermoplastic materials such as PE, PP, or polyester, excessive heat can cause the thread surface to soften, stick, or shrink. The thread may then break directly at the needle eye or only a very short distance from the needle.
Signs of heat-related thread breakage include:
- The machine runs normally at first, then begins to break the thread after some time.
- The broken thread end appears glossy or hardened.
- The higher the speed, the more frequently the thread breaks.
- After stopping the machine for a while and restarting it, the problem temporarily decreases.
- The needle feels noticeably hot when carefully checked.
Corrective measures:
- Reduce the sewing speed for testing.
- Replace the needle with a sharp needle of the correct size.
- Avoid excessive presser-foot pressure.
- Check the material thickness at folded bag-mouth areas.
- Use thread with suitable abrasion resistance and thermal stability.
- Remove dust and fiber buildup around the needle and thread path.
Do not touch the needle directly immediately after the machine has been running because it may cause burns.
3.5. The upper thread tension is too high
Excessive thread tension is a very common cause but is often overlooked. When the thread is tightly clamped by the tension discs, the pulling force transmitted toward the needle increases.
When the needle penetrates the bag, the thread is subjected to friction against the material while also being pulled by the tension assembly. If the combined force exceeds the thread's instantaneous load capacity, the thread breaks at its weakest point, often near the needle eye.
Signs of excessive thread tension:
- The thread is difficult to pull by hand when the presser foot is raised.
- The seam is pulled too tightly, causing the bag edge to wrinkle or contract.
- The thread breaks frequently when sewing through folded edges.
- The machine still feels as though the thread is under heavy tension even at low speed.
- The broken thread end is relatively clean, with less fuzz than in cases caused by burrs.
Adjustment: Reduce the thread tension gradually in small increments, then test sew on the same type of bag being produced. Do not loosen the tension too much at once because this can result in loose seams or skipped stitches.
3.6. The thread path has sharp points, worn grooves, or blockages
Before reaching the needle, the thread passes through multiple components such as guides, ceramic eyelets, guide hooks, the tension assembly, and the take-up lever. A single scratched or worn groove along the thread path can damage the thread.
Although the thread breaks near the needle, the actual damage may have started higher up. The thread can be scraped first, then subjected to additional tension at the needle and finally break.
Check:
- Whether any thread guides have sharp edges.
- Whether ceramic eyelets are cracked or broken.
- Whether the tension discs contain dust, dried oil, or thread fibers.
- Whether the take-up lever has worn grooves.
- Whether the thread has become wrapped around a machine component.
- Whether the threading path follows the machine manufacturer's diagram.
You can pull a section of thread by hand through the entire thread path to feel for areas where the thread becomes tight or jerky.
3.7. The thread spool unwinds unevenly
A spool installed in the wrong direction, tilted, caught in a loop, or cross-wound can create sudden pulling forces. When the spool unwinds normally, the machine may operate without problems. However, when a loop becomes stuck, the tension rises sharply for a very short period and causes the thread to break near the needle.
This problem is often intermittent, making it easy to mistake for inconsistent thread quality.
Observe the spool while the machine is running:
- Does the thread come off in large loops?
- Does the thread catch on the bottom or edge of the spool?
- Does the spool vibrate, wobble, or tilt?
- Is the thread holder centered with the spool?
- Does the thread become caught on a neighboring spool?
- Is the distance from the spool to the first thread guide appropriate?
For high-speed machines, the thread guide above the spool should be high enough to allow the thread to be pulled out smoothly.
3.8. The thread is hairy or has an unsuitable twist level
Bag sewing thread is commonly made by combining and twisting multiple individual fibers or yarn components. If the twist level is inconsistent, the fibers can loosen, separate, or become hairy as the thread passes through the needle.
Thread with too little twist may be soft but can separate easily. Thread with excessive twist may become stiff, form twisted loops easily, and react strongly to changes in tension.
A suitable thread batch should have:
- Relatively consistent twist.
- Stable diameter throughout the spool.
- Low hairiness and few large splices.
- No sections that are abnormally soft or hard.
- Even winding without collapsed edges.
- Stable unwinding when the machine accelerates.
When thread quality is suspected, test another spool from the same batch and another spool from a different batch. Cross-comparison helps determine whether the problem is related to the spool, the batch, or the equipment.
3.9. The thread is damp, dusty, or improperly stored
Thread placed directly on the floor, near heat sources, oily areas, or dusty environments can undergo changes in its surface condition.
Dust and contaminants on the thread can enter the tension assembly, guides, and needle area. Over time, they create additional friction, causing the thread to become hairy and break.
Thread spools can also become deformed when stacked too high or compressed for long periods. When the spool is deformed, the thread no longer unwinds evenly.
Store thread in an area that is:
- Dry and clean.
- Protected from direct sunlight.
- Away from heat sources.
- Separate from chemicals and grease.
- Stored on racks above the floor.
- Kept in its original packaging until use.
3.10. The timing between the needle and hook is incorrect
If the needle, hook, or stitch-forming mechanism is not correctly synchronized, the thread can be pulled, pinched, or struck abnormally. This problem often appears after the machine jams, the needle breaks, the machine experiences a strong impact, or components have been removed and reinstalled during maintenance.
Signs related to incorrect machine timing include:
- The thread still breaks after replacing the needle and reducing tension.
- The machine also skips stitches.
- There is a slight impact sound around the needle area.
- A new needle quickly develops scratches.
- The thread is cut cleanly at the same location.
- The looper appears to be touching the needle.
In this case, stop the machine and perform a thorough technical inspection. Continued operation may damage the looper, bend the needle bar, or cause repeated needle breakage.
4. How to identify the cause based on the broken thread end
Observing the broken thread end is a relatively quick and effective troubleshooting method.
| Appearance of broken thread end | Possible cause |
| Thread is heavily hairy, with many small fibers protruding | Scratched needle eye, sharp thread guide, high friction |
| Broken end is contracted or glossy | Hot needle, thread affected by heat |
| Broken end is relatively clean | Excessive tension, thread being pinched or cut |
| Thread becomes flattened before breaking | Needle too small or unsuitable needle eye |
| Thread twists into a loop before breaking | Excessive twist, unstable spool unwinding |
| Thread breaks randomly, intermittently | Spool catching a loop, large splice, uneven thread unwinding |
| Thread breaks together with skipped stitches | Incorrect needle installation, bent needle, incorrect hook timing |
The table above is intended only to narrow down the possible causes. In practice, start by checking the simplest causes that are easy to change.
5. Quick troubleshooting procedure when the thread breaks right near the needle
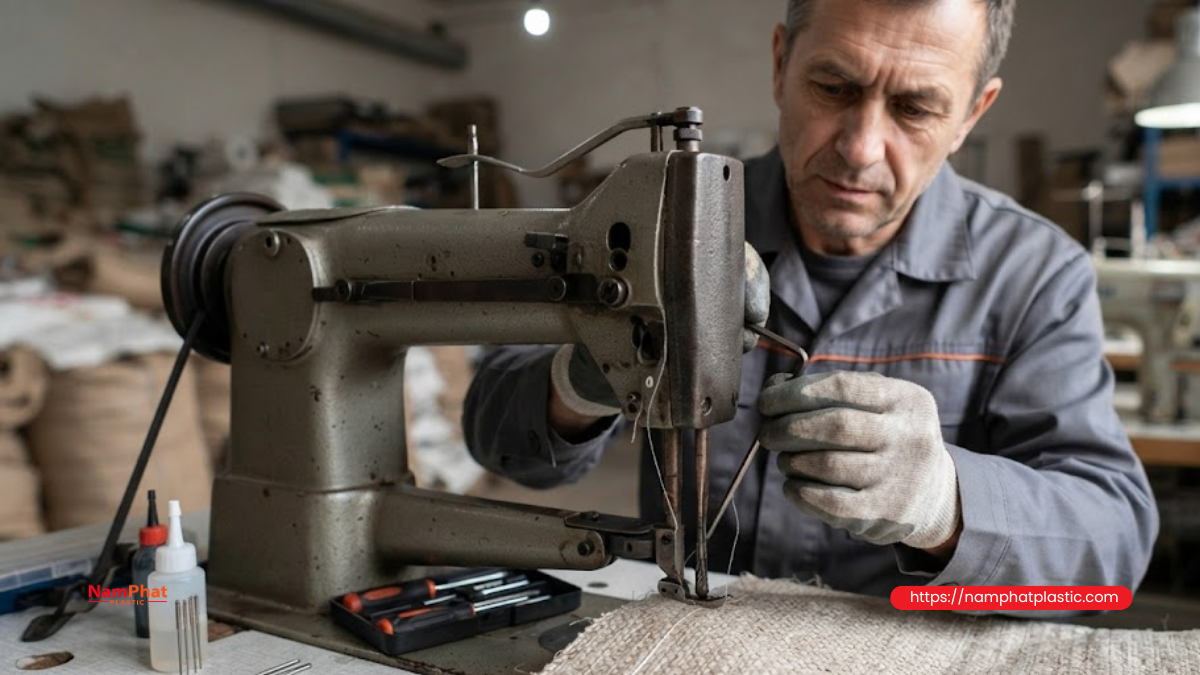
Step 1: Stop the machine and inspect the broken thread end
Do not simply reconnect the thread and immediately continue running. Check whether the thread end is hairy, melted, flattened, or cleanly broken.
Also check whether the section of thread remaining in the needle eye is stuck or attached to the needle.
Step 2: Replace the needle
Replacing the needle is a quick procedure that can eliminate several possible causes at once. Use the correct needle type and size and install it in the correct direction.
After replacement, turn the machine by hand for several cycles to make sure the needle does not strike the looper or needle plate.
Step 3: Rethread the entire thread path
Remove the thread and rethread it according to the machine's threading diagram. Carefully check every guide, the tension assembly, and the take-up lever.
Do not only rethread the section near the needle because the source of the abrasion may be located higher up.
Step 4: Reduce thread tension
Loosen the tension slightly and perform a test run. If thread breakage decreases while the seam remains firm and even, the previous tension may have been too high.
Step 5: Check the thread spool
Switch to another spool and observe the unwinding process. If the new spool runs smoothly, inspect the old spool for winding quality, splices, twist, and deformation of the core.
Step 6: Run the machine at low speed
Run the machine slowly first, then gradually increase the speed. If the thread only breaks at high speed, focus on checking needle temperature, dynamic thread tension, and spool unwinding.
Step 7: Check needle–hook timing
If the above steps do not solve the problem, check the timing and clearance between the needle and the hook mechanism.
This step should be performed by someone experienced in repairing bag sewing machines.
Recommended troubleshooting order
When thread breakage occurs, follow this sequence:
- Replace the needle.
- Check the needle orientation and installation position.
- Rethread the machine.
- Clean the thread tension assembly.
- Slightly reduce thread tension.
- Change to another thread spool.
- Check the thread unwinding path.
- Run the machine at low speed.
- Check needle temperature.
- Check needle–hook timing.
This sequence prioritizes simple procedures that require little time and do not make major changes to the machine structure.
6. Should you increase thread strength to fix thread breakage near the needle?
Using thread with a higher breaking strength may improve the situation in some cases, but it should not be considered the only solution.
If the needle has burrs or the thread path has sharp edges, even stronger thread will continue to be worn down. If the cause is needle heat, using a larger thread may sometimes increase friction because the needle eye becomes more crowded.
Therefore, first determine which category the problem belongs to:
- Equipment problem: Needle, hook, thread guide, tension assembly, or machine timing.
- Machine setting: Thread tension, speed, presser-foot pressure.
- Material problem: Excessively thick bag material or multiple folded layers.
- Thread problem: Twist, hairiness, diameter, or uniformity.
- Operating problem: Incorrect threading, incorrect spool placement, or incorrect needle selection.
Only switch to a larger or differently constructed thread after confirming that the machine is operating correctly.
7. Choosing 20/6, 20/8, or 20/9 thread when the machine frequently breaks thread
The specifications 20/6, 20/8, and 20/9 indicate the number of component yarns combined and twisted together. For the same type of raw material, a higher number of component yarns generally produces a larger thread with higher load-bearing capability.
However, the selection needs to be matched with the needle, machine, and bag type.
PE 20/6 thread
Suitable for seams that do not require very high tensile strength, relatively lightweight materials, or applications where lower thread consumption is preferred.
When using it, make sure the tension is not too high because smaller thread can be more sensitive to sharp points along the thread path.
PE 20/8 thread
A commonly used specification for many types of industrial bags. It provides a balance between strength, thread size, and machine performance.
It is often a suitable option for testing when a factory needs stable seams without using an excessively large thread.
PE 20/9 thread
Suitable for certain types of thick bags, high-load bags, or seams requiring greater load-bearing capability.
When switching to 20/9, check the needle size and thread-guide openings again. Do not pass large thread through a needle that is too small because this can increase hairiness and breakage at the needle eye.
Thread specifications cannot be selected independently. They should be tested together with the needle, stitch density, thread tension, and the actual bag sample.
>>> See also: What are PE 20/6, 20/8, and 20/9 threads? How to choose the right type
8. How to reduce thread breakage near the needle in mass production
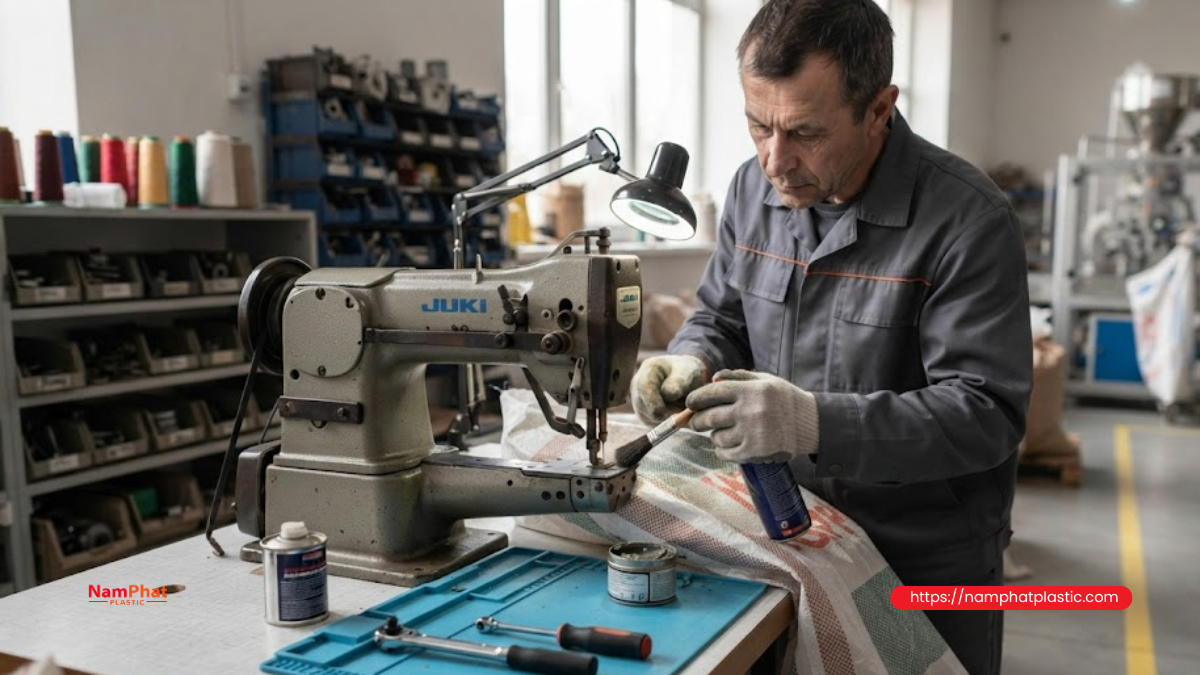
Establish a regular needle replacement schedule
Do not wait until the needle breaks before replacing it. A needle may already be blunt or scratched before visible damage occurs.
A factory can establish replacement intervals based on machine operating hours, production volume, or number of shifts.
Clean the thread path every shift
Thread fibers, bag dust, and dried oil can accumulate in the tension assembly. Regular cleaning helps maintain stable tension and reduces wear on the thread surface.
Inspect the thread spool before mounting it on the machine
Check the winding quality, core condition, splices, and thread surface. Do not immediately use spools that are dented, heavily dropped, or have collapsed edges.
Keep samples from each thread batch
A reference sample should be retained from each raw-material batch. When a problem occurs, the factory can compare batches and identify the cause more quickly.
Record machine settings
Record parameters such as needle type, thread specification, tension level, bag type, and operating speed. When changing orders, operators can return to a configuration that has previously run successfully.
Test sew before mass production
After changing the thread batch, bag material, or needle, sew a small quantity first. Observe the seam, check seam strength, and monitor needle heating before running continuously.
9. Common mistakes when troubleshooting thread breakage on bag sewing machines
Only increasing thread size without checking the needle
A larger thread does not necessarily run better. If the needle eye is not wide enough, friction may increase and the problem may become more severe.
Loosening the tension too much
Excessive tension causes thread breakage, but insufficient tension can make the seam loose, cause skipped stitches, or make the stitch loop slip.
Adjust only a small amount at a time and test again.
Using sandpaper to modify the needle eye
Grinding the needle yourself can change the shape of the needle eye or create additional sharp edges. The cost of a new needle is usually lower than the losses caused by machine downtime and defective seams, so replacing the needle is preferable.
Continuing to run the machine when there is an impact sound
An impact sound around the needle may indicate that the needle is hitting the hook or needle plate. Continued operation can cause the needle to break and damage other components.
Changing multiple parameters at the same time
If you replace the needle, adjust the tension, change the thread spool, and alter the speed simultaneously, it becomes difficult to identify the actual cause.
Change one factor at a time and record the result.
10. Quick diagnostic table for thread breakage near the needle
| Actual symptom | First point to check |
| No breakage at low speed, but thread breaks at high speed | Needle temperature, tension, and thread unwinding |
| Thread becomes hairy before breaking | Needle eye, thread guides, and worn guide grooves |
| Broken thread end is glossy and contracted | Hot needle, friction between needle and material |
| Thread breaks when sewing through folded edges | Blunt needle, presser-foot pressure, and bag thickness |
| Thread breaks immediately after replacement | Needle size and threading method |
| Thread stops breaking after changing the spool | Defective spool or uneven thread unwinding |
| Thread still breaks and skips stitches after replacing the needle | Needle–hook timing |
| Thread is tightly pulled and bag edge wrinkles | Excessive thread tension |
| Thread breaks randomly after several dozen bags | Spool loop, splice, or needle gradually heating up |
| New needle becomes scratched quickly | Check whether the needle is hitting the hook, needle plate, or other machine components |
Frequently asked questions about bag sewing thread breaking near the needle
1. Why does the machine still break thread after replacing the spool?
If changing the spool does not change the problem, the cause is more likely to be the needle, thread path, tension, or machine timing. Check the equipment before concluding that the thread batch is defective.
2. Why does a newly replaced needle still cause thread breakage?
The needle may be the wrong size, installed in the wrong direction, or not fully inserted into the needle bar. In addition, a new needle can quickly become scratched if it is hitting the hook or needle plate.
3. What causes the thread to break only after the machine has been running for a while?
This is often related to needle heat, dust buildup in the tension assembly, or a spool beginning to catch a loop after unwinding to a particular position.
4. Should the machine speed be reduced when the thread frequently breaks?
You can reduce the speed temporarily for troubleshooting. If reducing the speed eliminates the breakage, check needle heat, thread unwinding, and dynamic thread tension. Do not simply operate at a lower speed permanently while ignoring the root cause.
5. Does hairy thread need to be addressed even if it has not broken yet?
Yes. Hairiness is a sign that the thread is being abraded. If operation continues, the thread may break, weaken the seam, or generate excessive lint inside the machine.
6. Is PE thread easily affected by a hot needle?
PE thread can be affected when heat and friction around the needle increase. The degree of impact also depends on the thread construction, twist level, needle size, machine speed, and material thickness.
7. How can you tell whether the problem is caused by the thread or the machine?
Try a spool that has previously run successfully on the same machine. Then test the suspected spool on another machine with the same configuration. This cross-checking method helps narrow down the cause more accurately.
Conclusion
Bag sewing thread breaking right near the needle is commonly associated with friction, heat, excessive tension, or incorrect coordination between the needle and stitch-forming components. A scratched needle eye, unsuitable needle, excessive tension, and sharp points along the thread path are among the first causes that should be checked.
When the problem occurs, the operator should not simply reconnect the thread and continue running. Observing the broken thread end, replacing the needle, rethreading the machine, and adjusting each parameter step by step can help identify the cause more quickly.
In addition to thread quality, machine stability, thread storage, and operating procedures all directly affect continuous sewing performance. A properly configured sewing system can reduce machine stoppages, minimize seam defects, and improve bagging productivity.
Nam Phát Plastic supplies industrial PE bag sewing threads in specifications such as 20/6, 20/8, and 20/9, suitable for different bag sewing machines and packaging applications. Customers should provide the bag sample, machine type, and seam requirements so that the appropriate thread specification can be recommended before mass production.
>>> See also:
- 0 Comment


