


 Phan Van Hoang
- 10/08/2026
- 146
During the use of industrial sewing thread, there is a fairly common phenomenon that often goes unnoticed at first: with the same spool of thread, the same sewing machine, and the same tension setting, the thread behavior can change over time.
At the beginning of the spool, the thread may feel slightly tight when unwinding starts. In the middle section, the thread path may become more stable. Toward the end of the spool, some cases may show thread slack, jerking, vibration, or intermittent pulling.
What is notable is that the operator has not changed the tension adjustment knob.
This happens because thread tension is not a fixed value determined only by the tension assembly on the machine. It is the result of the entire process from the moment the thread leaves the spool, passes through the spool holder, guides, tension assembly, take-up device, and finally reaches the needle and stitch-forming mechanism.
During this process, the condition of the spool continuously changes. The spool diameter gradually decreases, its weight decreases, the number of thread layers on the surface changes, and the way the thread leaves the spool also changes.
If the thread supply system is properly designed and operated, these changes can be absorbed and the tension at the needle can remain within a stable range.
Conversely, if there is a problem with the spool, holder, thread path, or tension assembly, the difference between the beginning, middle, and end of the spool becomes much more noticeable.
Therefore, when thread tension changes between the beginning, middle, and end of a spool, do not simply turn the tension knob. It is necessary to determine whether the variation originates from the spool, the unwinding path, or the sewing mechanism itself.
Table of Contents [Hide]
1. How is thread tension generated?
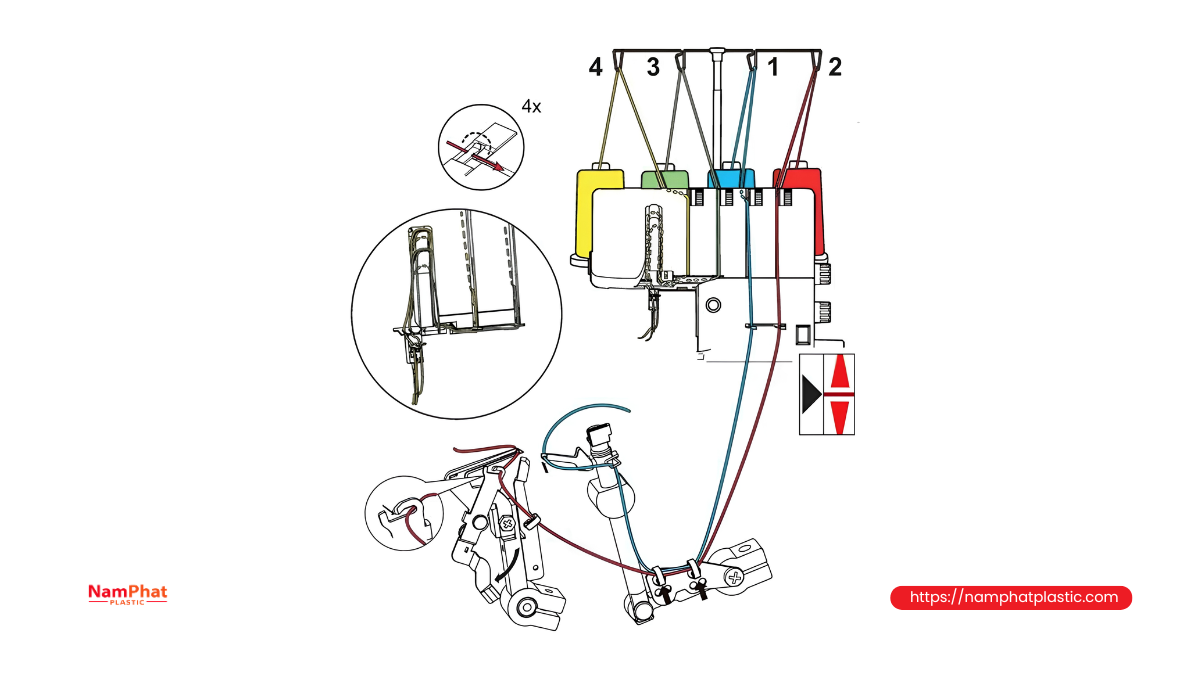
To understand why tension changes, it is first necessary to look at the entire thread path.
When the sewing machine operates, the needle and hook mechanism continuously draw a certain amount of thread for each stitch-forming cycle. The pulling force from this mechanism is transmitted backward through the thread path to the spool.
It can be simplified as:
Thread spool → spool holder → unwinding point → thread guide → tension assembly → thread take-up device → guide near the needle → needle → hook.
Each component can create resistance or alter the movement of the thread.
Therefore, if the spool does not rotate smoothly, tension can change. Conversely, even if the spool rotates smoothly, a scratched thread guide or a sticking tension assembly can still cause tension at the needle to fluctuate.
Pulling force at the spool is not exactly the same as tension at the needle
This is a very important point.
Suppose the machine needs to pull a large amount of thread from the spool. The spool may require a certain force to begin rotating. However, between the spool and the needle there are also thread guides and a take-up device.
If the take-up device works properly, part of the spool's fluctuation can be absorbed before it reaches the needle.
Conversely, if the take-up device sticks or the thread path has unstable friction, variation from the spool can be transmitted directly to the stitch-forming area.
Therefore, when evaluating tension, it is necessary to distinguish between:
-
The force required to unwind thread from the spool.
-
Resistance along the thread path.
-
Tension generated by the tension assembly.
-
Actual tension at the needle area.
These four factors are related, but they are not exactly the same.
2. What is different about the beginning of the spool?
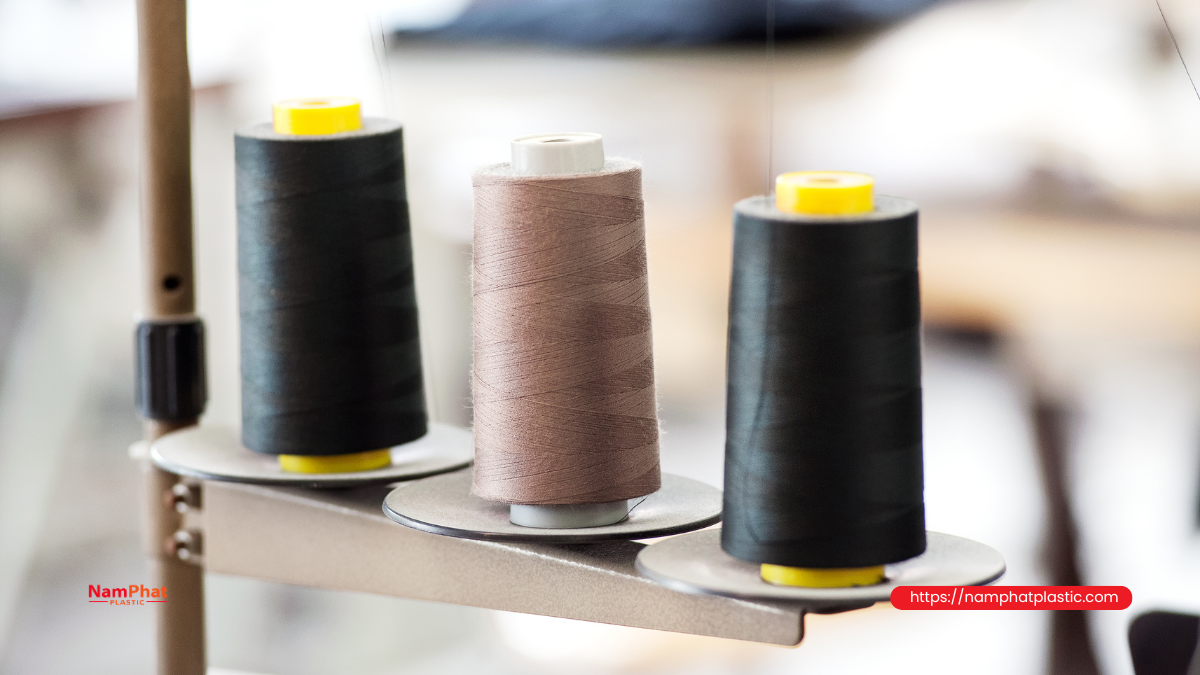
When the spool is first installed on the machine, the amount of thread is at its maximum. The outer diameter of the spool is also at its largest, and the total spool weight is at its highest.
This changes how the spool responds when the machine begins pulling the thread.
If the machine is stationary and then accelerates quickly, the spool must transition from a stationary state to rotating at a speed suitable for the amount of thread being drawn.
A large, heavy spool tends to require more torque to change its rotational speed.
Spool inertia affects the start-up stage
It can be understood simply as pushing a heavy object and a light object.
A heavy object is harder to start moving, but once moving, it is also harder to change its speed suddenly.
A thread spool behaves in a similar way.
If the machine pulls thread too quickly as it starts, the spool may not respond immediately. For a very short period, the thread between the spool and the machine may become more highly tensioned.
Once the spool reaches a stable rotational state, this effect decreases.
This is why some machines may show:
-
Higher thread tension during the first few seconds.
-
A different tension on the first few stitches.
-
Slight thread vibration during start-up.
-
The spool rotating jerkily before stabilizing.
-
Problems becoming more noticeable when the machine pedal is pressed quickly.
If the phenomenon appears only during the first few meters and then disappears, do not immediately conclude that the thread quality is unstable.
3. Why does the middle section of the spool often feel more stable?
After some thread has been used, the weight and diameter of the spool decrease.
The spool no longer has to overcome the initial condition of a full spool. If the winding structure is uniform, the unwinding process may become more stable.
This is also why many factories feel that thread “runs best in the middle of the spool.”
However, this does not mean that the middle section is always perfect.
If the thread is wound unevenly, with areas that are too tight or too loose, unwinding force can still change within the middle section.
The middle section is useful for evaluation, but it is not enough to draw a conclusion
When testing a new type of thread, many people only take a short section from the middle of the spool.
This can provide a preliminary assessment of thread quality, but it does not fully represent the spool's entire operating cycle.
A type of thread may run very well in the middle but:
-
Be tighter at the beginning.
-
Jerk near the end.
-
Form loose loops near the core.
-
Experience layer shifting in a certain area.
-
Show abnormal unwinding force as the diameter decreases.
If the goal is to evaluate thread for large-scale production, the entire process from the beginning to the end of the spool should be considered.
4. Why is thread more likely to jerk or become slack near the end of the spool?
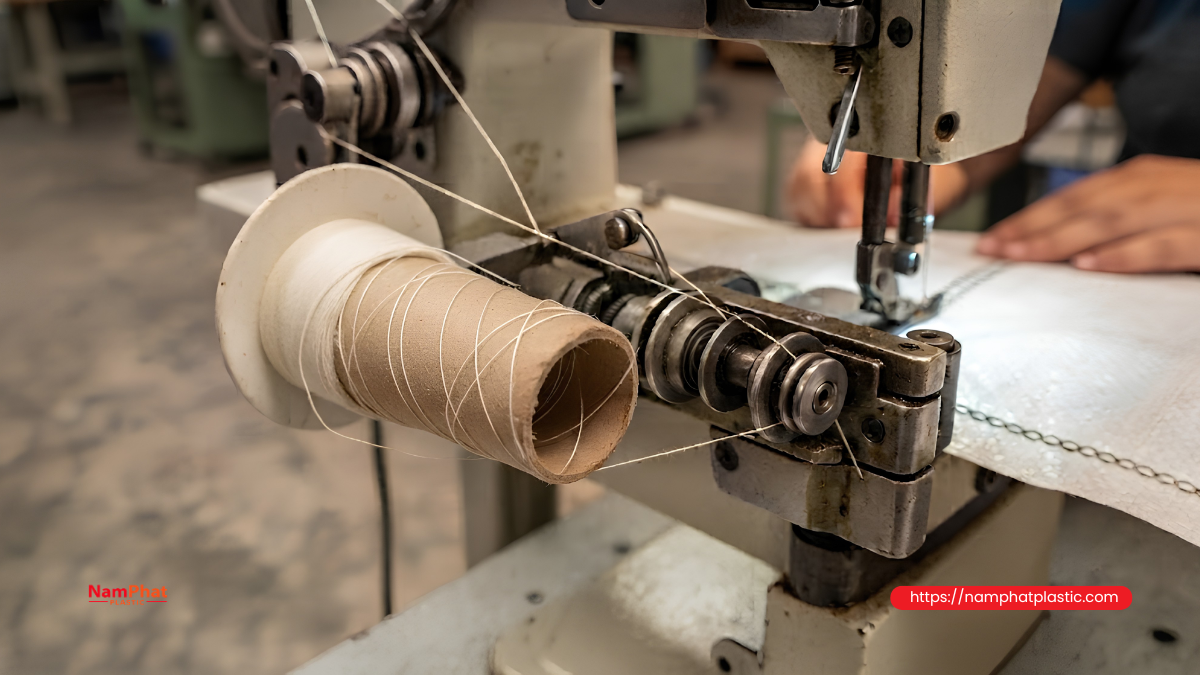
When the thread is nearly used up, the diameter of the remaining spool is significantly smaller than at the beginning.
The spool weight decreases, inertia decreases, and its response to the machine's pulling force also changes.
If the thread supply system cannot adequately compensate for these fluctuations, they can be transmitted to the needle area.
One common sign is that the thread no longer follows a relatively smooth path and begins to vibrate or jerk.
A lighter spool changes speed more quickly
A light spool can accelerate quickly when the machine pulls the thread and can also decelerate quickly when the pulling force decreases.
This is not necessarily a defect.
The problem appears only when the speed changes too much for the thread supply system to control.
The thread may then:
-
Become tight and then slack immediately afterward.
-
Oscillate before entering the tension assembly.
-
Form small loops between the spool and guide.
-
Move away from the intended unwinding direction.
-
Partially wind back onto the remaining thread layer.
If the phenomenon appears only when the spool is nearly empty, this is a particularly important sign.
5. How does changing spool diameter affect the amount of thread unwound per revolution?
This is one of the clearest mechanical causes.
When a spool rotates one revolution, the amount of thread taken out depends on the circumference of the layer currently being unwound.
It can be approximately expressed as:
-
Thread length per revolution ≈ π × diameter of the active layer.
When the spool is full, the diameter is large, so each revolution releases more thread.
When the spool is nearly empty, the diameter is smaller, so each revolution releases less thread.
If the machine maintains a relatively constant thread supply rate, the required rotational speed of the spool changes according to its diameter.
This means the spool does not rotate at the same speed throughout its entire use.
The change in rotational speed becomes more noticeable as the diameter changes
At the beginning of the spool, the diameter is large. Each revolution can supply a relatively large amount of thread.
At the end, the diameter is small. To supply the same amount of thread to the machine, the spool must rotate faster.
If the spool holder or unwinding mechanism is unsuitable, more fluctuations may appear toward the end.
This is why spool diameter cannot be ignored when evaluating tension.
6. How does thread winding affect unwinding force?
Two spools with the same weight do not necessarily have the same unwinding characteristics.
The structure of the thread layers on the spool plays an important role.
A well-wound spool generally has:
-
Relatively uniform thread distribution.
-
Stable spool edges.
-
Relatively consistent winding tightness.
-
A properly centered core.
-
No abnormal depressions or bulges.
Conversely, if some areas are wound too tightly and others too loosely, the force required to pull the thread out will vary according to position.
6.1. How can overly tight thread layers increase unwinding force?
When thread is compressed tightly, it may be difficult to separate from the layer underneath.
The machine pulls the thread from the spool, but the thread layer does not release evenly. As a result, pulling force increases and then decreases.
Operators often experience this as:
tight → jerk → slack → tight again.
If this phenomenon repeats at a fairly regular interval, the spool structure should be inspected.
6.2. Why are overly loose thread layers also a problem?
Conversely, if the thread is wound too loosely, individual loops can shift when pulled.
Instead of unwinding evenly from the outer layer, part of the thread may slide sideways or form loops.
This causes unwinding force to fluctuate and may lead to layer shifting or thread winding around the base of the spool.
7. How can friction along the thread path distort the perceived tension?
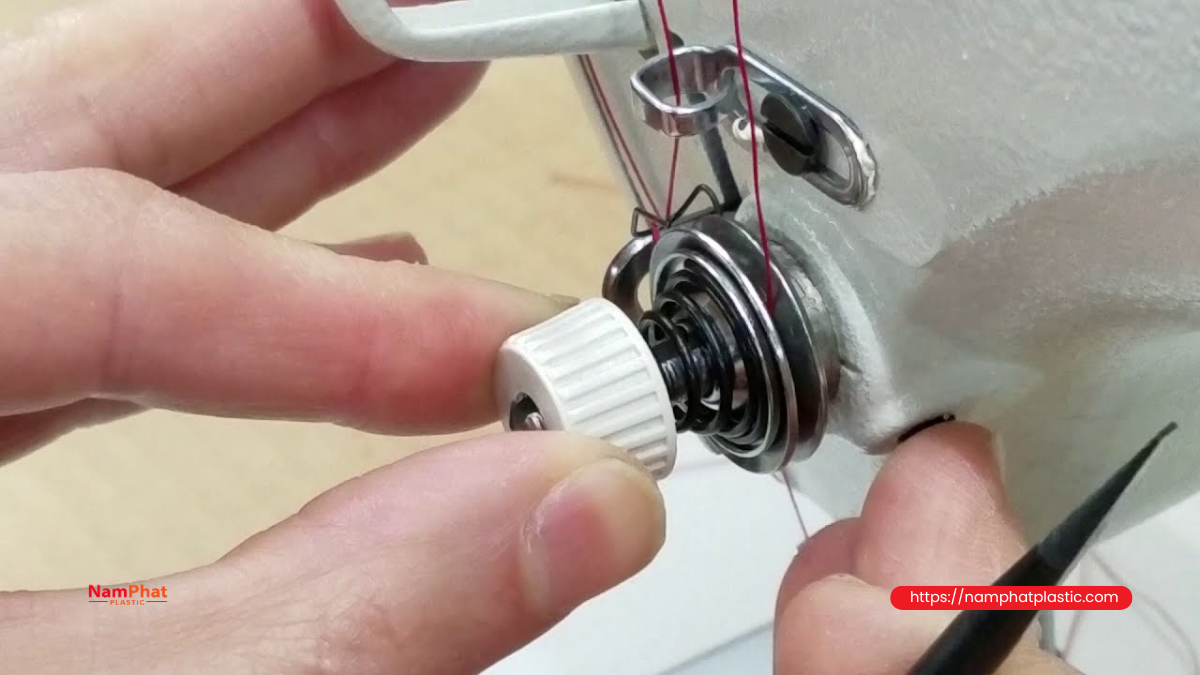
A common mistake is to see that the thread is tight and immediately tighten or loosen the tension assembly.
However, the actual cause may be a scratched thread guide.
The thread must pass through several points before reaching the needle. Even one point with unstable friction can change the actual tension.
The following areas should be inspected:
-
Ceramic thread guides.
-
Metal holes.
-
Tension discs.
-
Take-up spring.
-
Guide bars.
-
Thread guide near the needle.
-
Areas in contact with the machine mechanism.
Stable friction and unstable friction are two different problems
A component with constant resistance can be compensated for by setting an appropriate tension.
However, if the resistance changes continuously, the tension knob cannot solve the problem completely.
For example, a thread guide with a sharp edge may allow the thread to slide easily at one moment and catch at another.
When the thread catches, tension increases.
When it releases, tension suddenly decreases.
This is exactly the type of fluctuation operators often describe as “the thread is sometimes tight and sometimes loose.”
8. What role does the thread take-up device play in stabilizing tension?
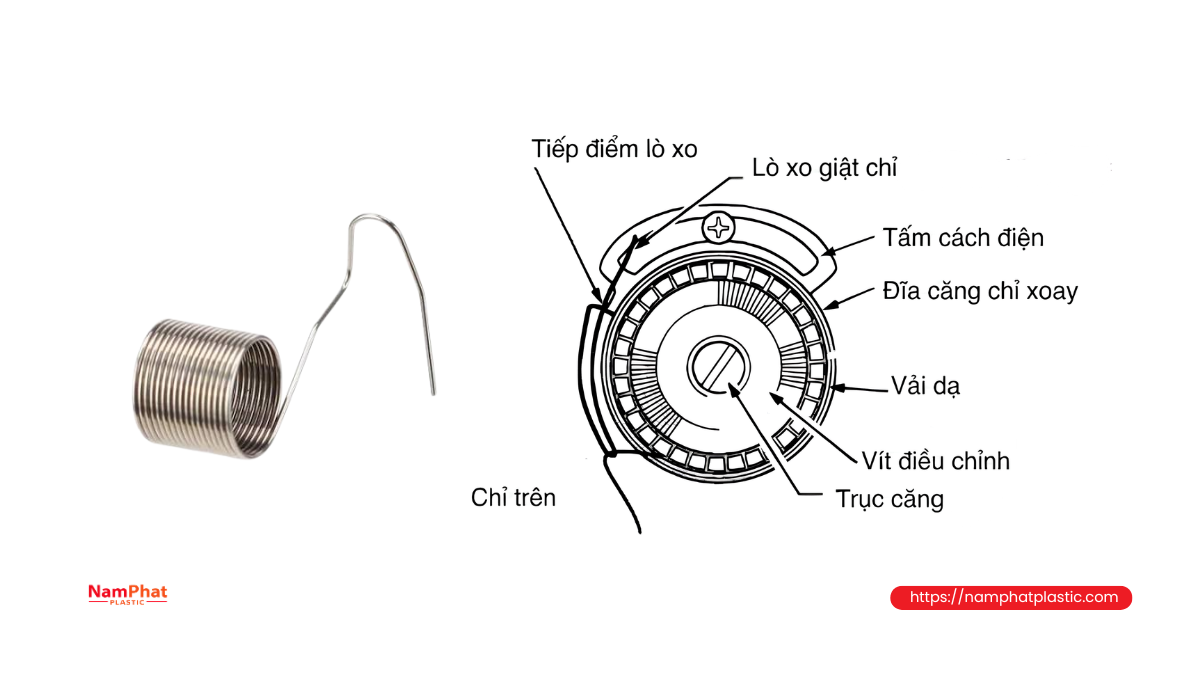
In a high-speed sewing machine, the amount of thread required is not exactly the same at every moment of a cycle.
The movement of the needle, hook, and stitch formation causes the amount of thread being drawn to continuously change.
The thread take-up device helps absorb part of these changes.
If the take-up device works properly, tension fluctuations from the spool can be smoothed before reaching the needle.
Conversely, if the take-up device sticks or the spring loses elasticity, fluctuations from the spool can easily reach the stitch-forming area.
Observe the take-up device while the machine is running
The movement of the take-up device can be observed at low speed before increasing to production speed.
If its movement:
-
Jerks strongly.
-
Does not return smoothly.
-
Sticks at one point.
-
Produces rubbing noise.
-
Shows abnormal delay.
then the mechanism should be inspected.
Do not simply change the tension setting to hide a take-up device problem.
9. Why does higher machine speed make tension variation more noticeable?
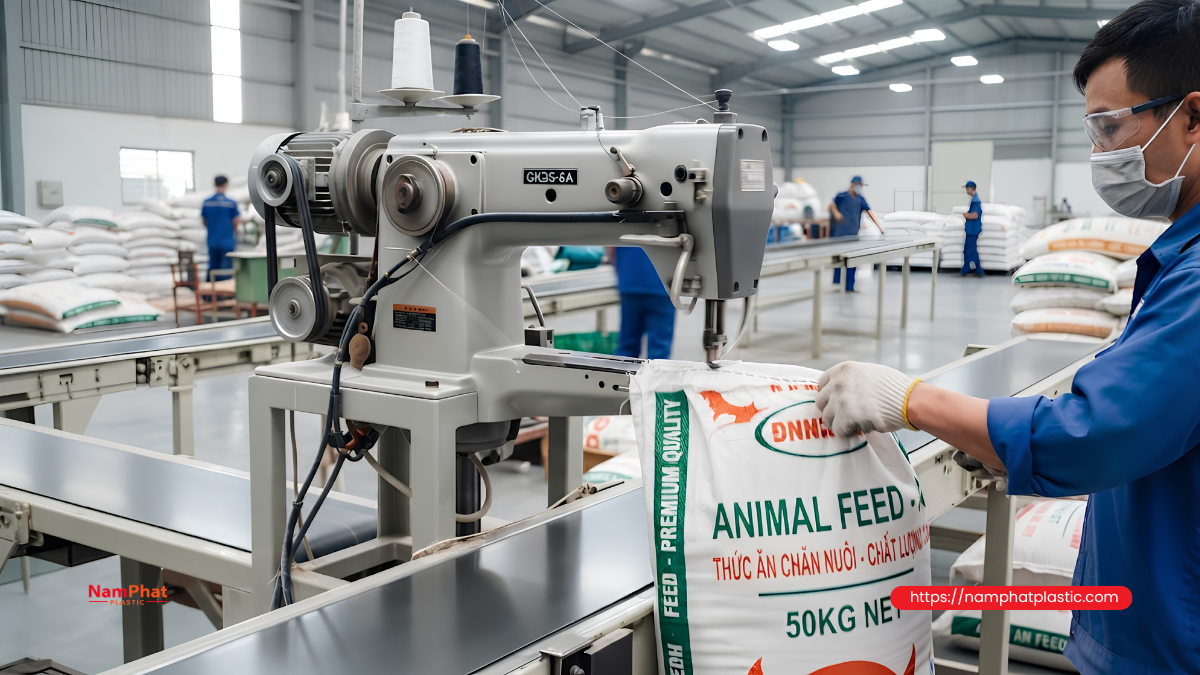
A spool may run normally at low speed but develop problems when the machine speed increases.
This is fairly easy to understand because at high speed, the amount of thread required per second increases significantly.
Small fluctuations in the spool or thread path that are difficult to notice at low speed can become obvious when speed increases.
Machine speed can be used to identify the source of the problem
A simple test is to increase speed step by step.
For example:
Low speed → medium speed → production speed → higher speed.
At each level, record:
-
Tension.
-
Thread-path stability.
-
Number of thread breaks.
-
Stitch consistency.
-
Spool movement.
If the thread is stable at low speed but starts jerking at a specific threshold, focus on the thread supply system, spool inertia, take-up device, and thread path.
Do not simply reduce the speed and consider the problem solved.
Reducing speed may make the problem disappear, but it does not solve the root cause if the actual production speed still needs to be high.
10. How can you distinguish a spool problem from a machine problem?
This is one of the most important parts of practical troubleshooting.
If tension changes between the beginning, middle, and end of the spool, there are three main groups of possible causes:
-
Thread spool
-
Thread supply system
-
Sewing mechanism.
Without separating these groups, troubleshooting can easily become a process of repeated trial and error.
10.1. Control spool replacement test
Keep the following unchanged:
-
Machine.
-
Needle.
-
Material.
-
Speed.
-
Thread path.
-
Tension setting.
Only replace the problematic spool with a control spool that has already run stably.
If the problem disappears, the likelihood that it is related to the original spool increases.
If the problem remains, the machine should be inspected.
10.2. Machine replacement test
Conversely, the suspected spool can be tested on another machine with an equivalent configuration.
If the spool runs well on the second machine, the original machine should be inspected.
This method is particularly useful when a factory has multiple machines of the same model.
11. What signs indicate that thread tension is actually changing?
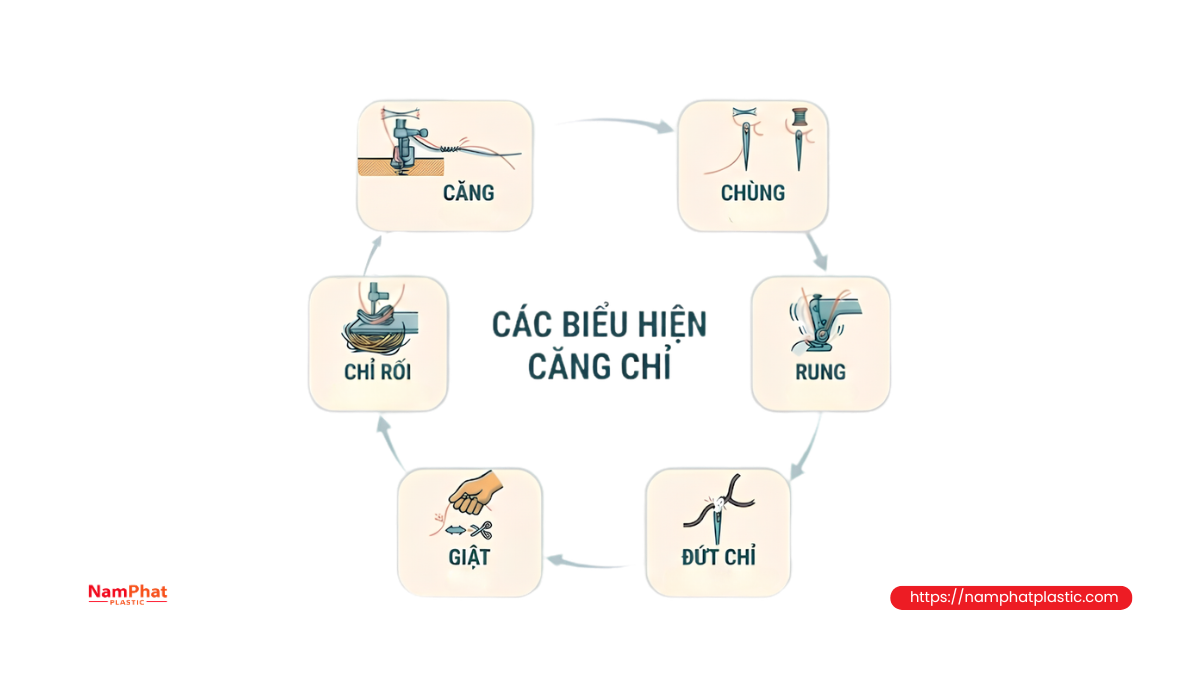
Not every change in the seam is caused by tension.
However, certain signs can help identify it.
When tension increases, the thread can make the stitch tighter, causing the seam to contract or the material to be pulled.
When tension decreases, the chain stitch may become looser or the seam may not maintain a stable shape.
Common signs include:
| Phenomenon | Possible relation |
| Tension gradually increases as the spool nears the end | Unwinding characteristics or thread path |
| Thread vibrates rhythmically | Fluctuation from spool or take-up device |
| Stitches are sometimes tight and sometimes loose | Unstable tension |
| Seam is stable in the middle but defective at the beginning | Inertia, start-up |
| Problem becomes obvious when speed increases | Thread supply system |
| Thread becomes slack near the end of the spool | Light spool, unstable unwinding |
| Breakage occurs repeatedly at one position on the spool | Thread-layer structure |
However, this table is only for initial orientation. Confirming the cause still requires a control test.
12. How can changes in thread tension be evaluated?
If the factory relies only on hand feel, results can vary greatly between operators.
One operator may feel that the thread is “slightly tight,” while another considers it normal.
For stable production, it is better to establish a repeatable inspection method.
Inspection by spool stage
The spool can be marked at several points:
100% → 75% → 50% → 25% → nearly empty.
At each point, take a thread sample and record the pulling force or sewing result.
It is not necessary for every factory to immediately have specialized tension-measuring equipment. What matters is that the test conditions remain consistent.
If a tension gauge is available, record the force required to pull the thread through a fixed section of the thread path.
The results can help identify the trend:
Stable → gradually increasing → gradually decreasing → fluctuating.
Do not measure only once
Tension can change with speed.
Therefore, measuring at low speed and then concluding that the spool is suitable for a high-speed machine is not sufficient.
The following should be standardized:
-
Pulling speed.
-
Sample length.
-
Pulling angle.
-
Thread path.
-
Environmental conditions.
-
Sampling method.
The goal is to produce results that can be compared between spools.
13. How to inspect a spool from beginning to end
When tension changes are detected, a step-by-step inspection process can be used instead of immediately adjusting the machine.
Step 1: Record the initial condition
Record the thread type, lot number, spool dimensions, machine used, and operating speed.
If possible, photograph the spool before use.
Step 2: Inspect the beginning of the spool
Run the machine under normal conditions and observe the first few minutes.
Record:
-
Whether the spool rotates jerkily.
-
Whether the thread becomes unusually tight.
-
Whether the seam changes.
-
Whether there is friction noise.
Step 3: Inspect the middle section
Continue using the spool and record the same indicators.
This is usually the reference section for comparison.
Step 4: Monitor the final section
When approximately 25–30% of the spool remains, begin closer observation.
Check:
-
Vibration.
-
Unwinding force.
-
Loose loops.
-
Layer shifting.
-
Spool rotation.
Step 5: Replace with a control spool
Do not change machine settings.
If the control spool runs well, return to inspecting the original spool.
Step 6: Check the thread path
Slowly pull the thread by hand through each point.
If resistance increases abnormally at one point, mark it for inspection.
Step 7: Check the take-up device and tension assembly
Observe their movement while the machine runs at different speeds.
Step 8: Compare the results
After completing the inspection, classify the problem as:
Material problem → thread supply system problem → machine problem → undetermined.
This approach helps avoid changing multiple factors at the same time.
14. How can stable tension be maintained throughout the spool?
To maintain stable tension from the beginning to the end, both the material and equipment must be controlled.
No adjustment knob can compensate for a poorly wound spool or a spool shaft that sticks.
Control can be divided into four main groups.
14.1. Spool quality control
The spool should have a stable structure and should not have a dented core or be excessively loose or tight.
When receiving thread into inventory, representative spools should be inspected rather than simply checking the outer packaging.
Signs to watch for include:
-
Uneven spool edges.
-
Shifted thread layers.
-
Bulging areas.
-
Misaligned core.
-
Deformed spool.
-
Uneven unwinding during a pull test.
14.2. Holder and spool shaft control
The spool must rotate smoothly without wobbling.
A shaft with high friction can make the beginning of the spool tight. A shaft that is too loose can cause the spool to oscillate.
Therefore, do not only check whether the spool “can rotate.” Check how smoothly and consistently it rotates.
14.3. Thread path control
All thread guides should be clean and free of sharp edges.
If one point is scratched, repair or replace it instead of continuing to compensate by changing tension.
14.4. Machine parameter control
Parameters should be standardized for each thread type and bag type.
Operators should not adjust tension according to personal judgment without recording the setting.
When a problem occurs, previous data helps determine whether the issue is caused by a material change or a machine change.
15. Common mistakes when dealing with changing thread tension
When the thread feels tight and loose intermittently, many people immediately turn the tension knob.
This is quick, but it is not always correct.
Tightening the tension too much
This can cause more thread breaks, tighter stitches, and increased friction at the needle.
Loosening the tension too much
This can cause loose stitches, unstable chain formation, and seams that are more likely to open.
Replacing the thread without checking the machine
If the problem is in a thread guide or take-up device, replacing the spool may only make the problem temporarily disappear.
Changing the needle, thread, and machine settings at the same time
In this case, it becomes impossible to know which factor caused the change.
Checking only the middle of the spool
This is one of the most common mistakes when evaluating spool quality.
If the problem occurs only near the end of the spool, inspecting a section from the middle will not reveal it.
Frequently asked questions about tension at the beginning, middle, and end of the spool
1. Why does the beginning of the spool often have higher tension?
The beginning of the spool has greater weight and diameter, so more force is required to change its rotational state. If the shaft or thread supply system has friction, the effect becomes more noticeable.
2. Why can the thread become slack near the end?
When the spool becomes lighter, it responds more quickly to pulling force. If the take-up device cannot absorb the fluctuation, the thread may become slack and then tight again.
3. Does a larger spool necessarily have higher tension?
Not necessarily. Diameter and weight are only part of the equation. Winding structure, shaft friction, unwinding direction, and thread path also have a significant effect.
4. Why does the same spool run well on one machine but become unstable on another?
The two machines may differ in tension assembly, take-up device, thread path, needle, hook, or speed. Therefore, the same spool does not guarantee the same result on every machine.
5. Should the tension be adjusted differently at the beginning and end of the spool?
This should not be considered the main solution. If tension must be continuously adjusted throughout one spool, the cause of instability in the thread supply system should be investigated.
6. What if the machine runs well at low speed but the thread jerks at high speed?
Check the thread supply capability at high speed, especially spool inertia, spool diameter, take-up device, and friction along the thread path.
7. How can you tell whether the problem is caused by spool quality?
A reliable method is to use a control spool of the same type on the same machine while keeping the test conditions unchanged. If only the suspected spool shows the problem, the likelihood that it is spool-related is higher.
Conclusion
Changing thread tension between the beginning, middle, and end of a spool does not necessarily mean that the machine's tension assembly has been incorrectly adjusted.
As the spool is used, several factors change simultaneously: diameter, weight, rotational inertia, rotational speed, thread-layer structure, and the way the thread unwinds from the spool. These changes then interact with the spool holder, thread path, tension assembly, take-up device, and sewing mechanism.
At the beginning of the spool, the problem is often more closely related to inertia, weight, and the spool's start-up response. In the middle, the system will usually be more stable if the spool structure is uniform. As the spool approaches the end, it becomes lighter and its diameter becomes smaller, changing its response to pulling force and making fluctuations more noticeable if the thread supply system is not properly controlled.
The important point is not to evaluate a spool based only on the first few meters or a section from the middle. A spool suitable for production should maintain acceptable unwinding and tension characteristics from the beginning of use until it is nearly empty.
The most effective inspection method is to keep machine conditions unchanged, monitor the spool at different stages, record seam behavior, and use a control spool to separate material-related effects from equipment-related effects.
When the factory controls winding quality, spool holder, thread path, tension assembly, take-up device, and machine speed together, tension variation can be significantly reduced. This also provides a better basis for evaluating thread quality and reducing problems such as thread breaks, uneven stitches, unstable chain formation, or tension changes as the spool nears the end.
>>> See more:
- 0 Comment


