


 Phan Van Hoang
- 10/08/2026
- 126
During the use of bag sewing thread, some thread cones may develop a condition where the outer thread loops slip from their original position, the thread layers shift, or loose thread drops toward the bottom and winds around the spool base.
At first, the problem may appear as just one loop of thread protruding from the edge of the spool. However, as the machine continues running, this loop can pull the layers behind it. If the loose thread comes into contact with the shaft, spool base, or a metal edge, it can become caught and quickly form a tangled mass.
Importantly, this problem does not necessarily originate from the thread itself. The cause may be related to winding method, winding tightness, spool core condition, spool condition after transportation, unwinding speed, or the way the thread path is arranged on the machine.
Therefore, when thread loops slip or wind around the spool base, do not immediately increase thread tension or replace the entire spool. First identify where the problem begins to determine whether it originates from the spool, the machine, or the operating conditions.
Table of Contents [Hide]
1. What Are Thread Loop Slippage, Layer Shifting, and Thread Winding Around the Spool Base?
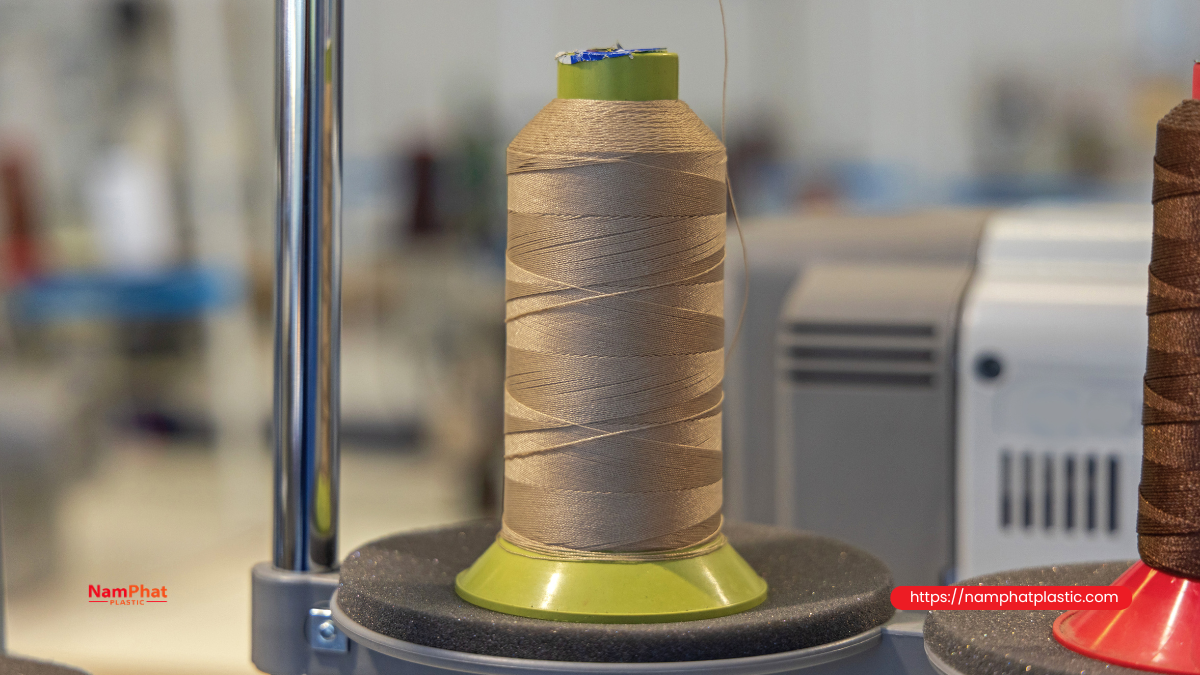
These three conditions are related but are not exactly the same. In actual production, a minor spool defect can develop into a more serious problem if it is not detected early.
Thread loop slippage
Thread loop slippage occurs when one or several thread loops on the spool surface move out of their original positions.
Normally, the thread loops are arranged relatively stably and are pulled off one after another as the spool rotates. If one loop becomes loose, it may protrude from the edge or slide downward.
In mild cases, the loop may return to a stable position on its own. However, if the machine continues pulling thread at high speed, the loose loop may drag the loops behind it.
Layer shifting
Layer shifting occurs when a larger area of thread is displaced. Instead of the loops unwinding one by one, several adjacent loops are pulled out together.
A spool with shifted layers no longer has an even surface. It may develop recessed areas, raised areas, or sections where the thread layers have moved to one side.
If operation continues, the shifted section may loosen into a large mass and make thread feeding unstable.
Thread winding around the spool base
Thread winding around the spool base is often a later stage after thread loops have slipped or layers have shifted.
When a thread loop slides downward, it may become caught in:
-
The gap between the shaft and support.
-
A metal edge.
-
A thread or spool-base protrusion.
-
A component along the unwinding path.
-
The contact area between the spool and shaft.
The spool continues rotating while the loop is held in place. Each rotation pulls more thread into the caught point and creates a tangled mass.
2. What Causes Thread Loops to Slip Off the Spool?
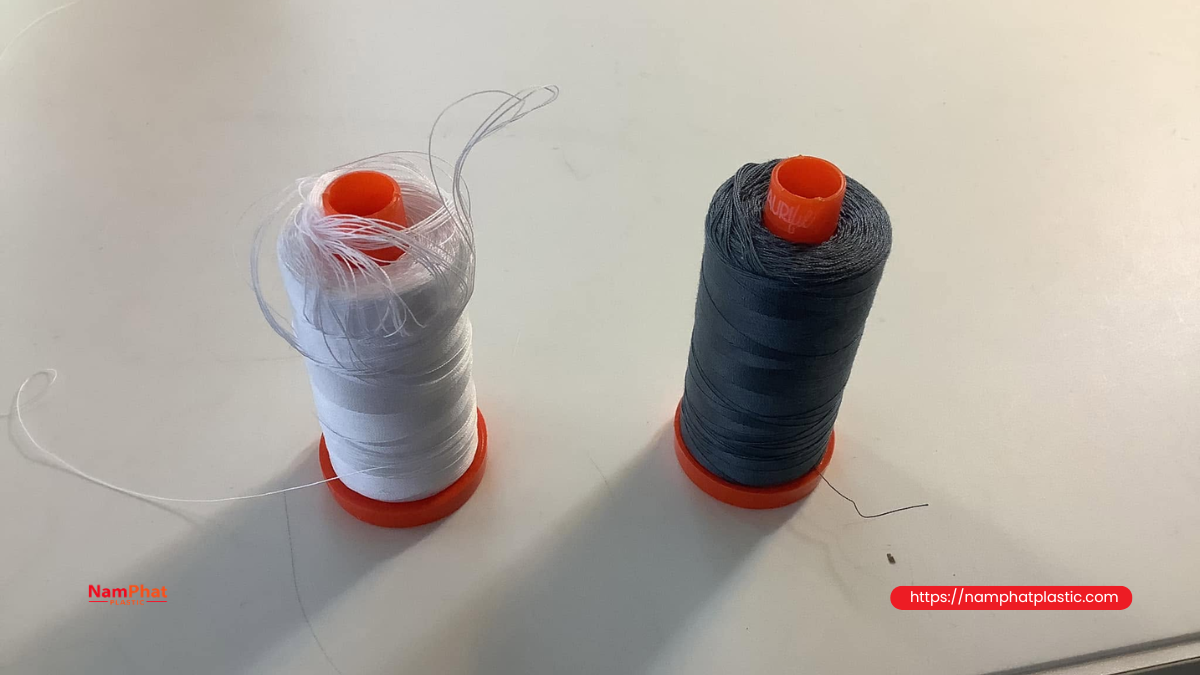
Loop slippage is often the first sign that the spool structure or unwinding conditions are unstable.
2.1. The Outer Thread Layer Is Wound Too Loosely
During spool formation, the thread loops need enough stability to maintain their position during transportation and use.
If the outer layer is wound too loosely, the holding force between the loops is low. When the machine pulls the thread at high speed, one loop may be pulled out of position before the next loop is unwound.
This is often more noticeable on large-diameter spools or when the machine operates at high speed.
If multiple spools of the same type show the same problem, the winding process should be checked rather than simply adjusting the machine.
2.2. The Spool Edge Cannot Hold the Thread Loops in Place
The spool edge helps keep the thread layers in the correct position. If the edge is displaced, tilted, or unevenly formed, the thread loops can slide out more easily.
Even a small section of thread protruding from the spool edge can become a pulling point for the loops behind it.
During inspection, pay attention to:
-
Whether the spool edge is even.
-
Whether any thread loops protrude.
-
Whether there is a significant difference between the two edges.
-
Whether the outer layer has shifted to one side.
2.3. The Unwinding Speed Is Too High
Machine speed directly affects the rate at which thread is pulled from the spool.
As the machine accelerates, more thread is pulled out per second. If the outer layer is already slightly loose, this pulling force can cause the thread loop to loosen.
This is why a spool may run normally at low speed but begin slipping when the machine reaches production speed.
A simple test is to reduce the speed and observe:
-
Whether the spool continues to slip.
-
At what speed the thread loop begins to loosen.
-
Whether the problem appears immediately during acceleration or only after some running time.
-
Whether thread tension changes at the same time.
2.4. The Spool Rotates With Jerking or Misalignment
If the holding shaft is loose, the spool is off-center, or it does not rotate smoothly, the pulling force on the thread will continuously change.
Each time the spool moves toward one side, the loops at the edge are subjected to a corresponding lateral force. After repeated rotations, some layers may be pushed out of their original positions.
If the spool wobbles during rotation, inspect the shaft and core before adjusting thread tension.
3. Why Does Thread Shift in Layers or Come Loose in Sections?
Layer shifting is generally more serious than the loss of a few loops because a larger area of the spool has lost its original structure.
3.1. Uneven Winding Tension
A spool may look relatively good on the outside while the tightness between internal layers is not completely uniform.
If one area is wound tightly while another is looser, the loose section will be easier to pull out when the spool begins unwinding.
If the defect repeatedly appears at the same position on multiple spools, the winding process should be reviewed, particularly winding speed and tension control.
3.2. Uneven Thread Distribution on the Core
The thread should be distributed relatively evenly across the width of the core.
If too much thread accumulates in one area, the spool surface will develop uneven high and low areas. During unwinding, the force acting on each area will no longer be uniform.
A thicker area may hold the thread well, while a thinner or displaced area may loosen more easily.
3.3. The Spool Core Is Dented or Misaligned
The core determines the shape of the entire spool. If the core is dented or not concentric, the outer thread layers may also become deformed.
During rotation, the eccentric section creates a wobbling motion. The thread is therefore not pulled in a stable direction but continuously changes its pulling angle.
If the core shows signs of:
-
Dents or deformation.
-
Cracks.
-
Deformation at either end.
-
Poor fit on the shaft.
-
Eccentric rotation.
the spool should be separated for inspection before production continues.
3.4. The Spool Is Deformed During Transportation
A spool that was properly formed can still become deformed after packaging.
Excessive stacking, prolonged compression, or strong impact can displace the spool edge. Some thread layers may shift without immediately coming loose.
Once the spool is installed on the machine and rotated at high speed, the deformed area may begin to shift.
Therefore, inspecting spools after receiving them into storage or before production is a simple but highly useful step.
4. Why Does Thread Wind Around the Spool Base?
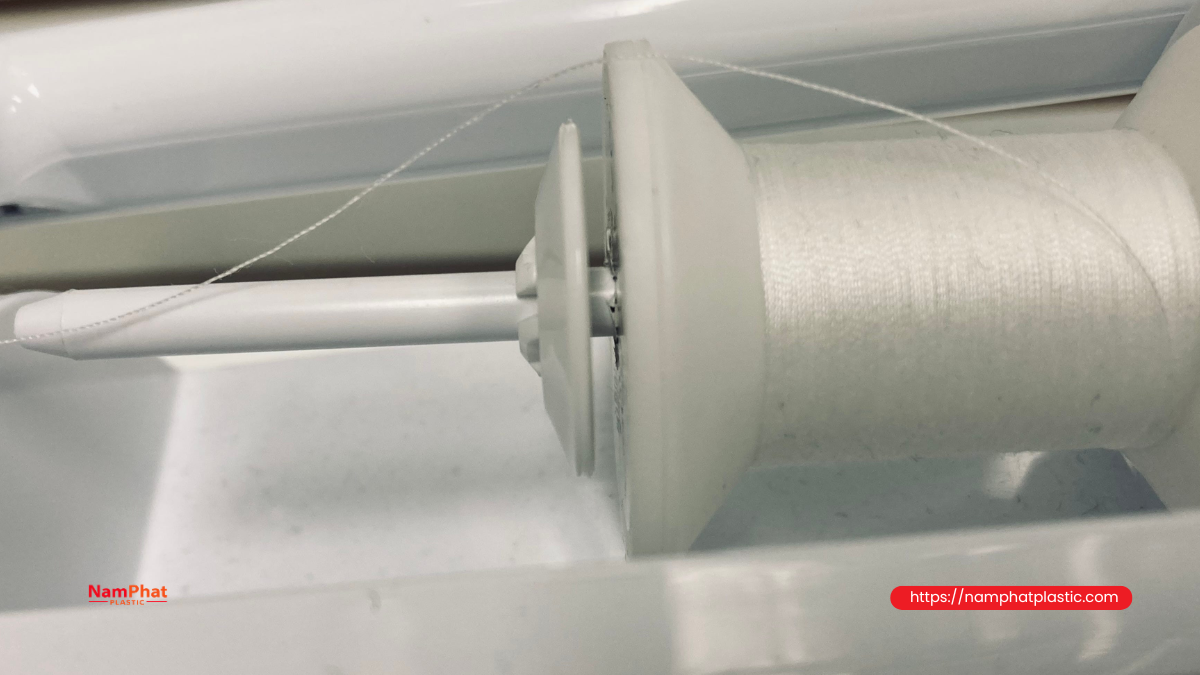
Once thread has started sliding toward the bottom of the spool, the spool-base area should be inspected immediately.
A very small snag point can turn a loose thread loop into a tightly wound mass.
4.1. The Spool Base Has a Sharp Edge or Burr
The thread continuously moves around the spool-base area. If the metal surface has a sharp edge, burr, or protruding corner, the thread loop can become caught.
The spool then continues rotating and pulls more thread into that location.
An easy-to-recognize sign is that the thread repeatedly winds at the same point. If the thread is removed and the machine is run again, and the problem always occurs at the same location, the spool-base surface should be inspected directly.
4.2. Clearance Between the Shaft and Support
A small gap between components can also become a place where a thread loop slips into.
Initially, only one loop becomes caught in the gap. As the spool rotates, this loop is pulled tight and becomes an anchor point for the following loops.
Once enough thread accumulates, the tangled mass tightens around the shaft and resistance rises rapidly.
4.3. The Spool Is Misaligned With the Shaft
A spool that is not positioned straight on the shaft will create an unstable unwinding direction.
During rotation, the spool may move toward one side and then return. The thread is therefore continuously pulled at an angle, increasing the possibility that a loop will slide toward the edge.
If the problem usually occurs on the same side of the spool, check:
-
Spool concentricity.
-
Shaft straightness.
-
Spool positioning.
-
Tightness of the holding mechanism.
-
Clearance between the spool and spool base.
5. What Should Be Checked on a Thread Spool Before Loading It Onto the Machine?
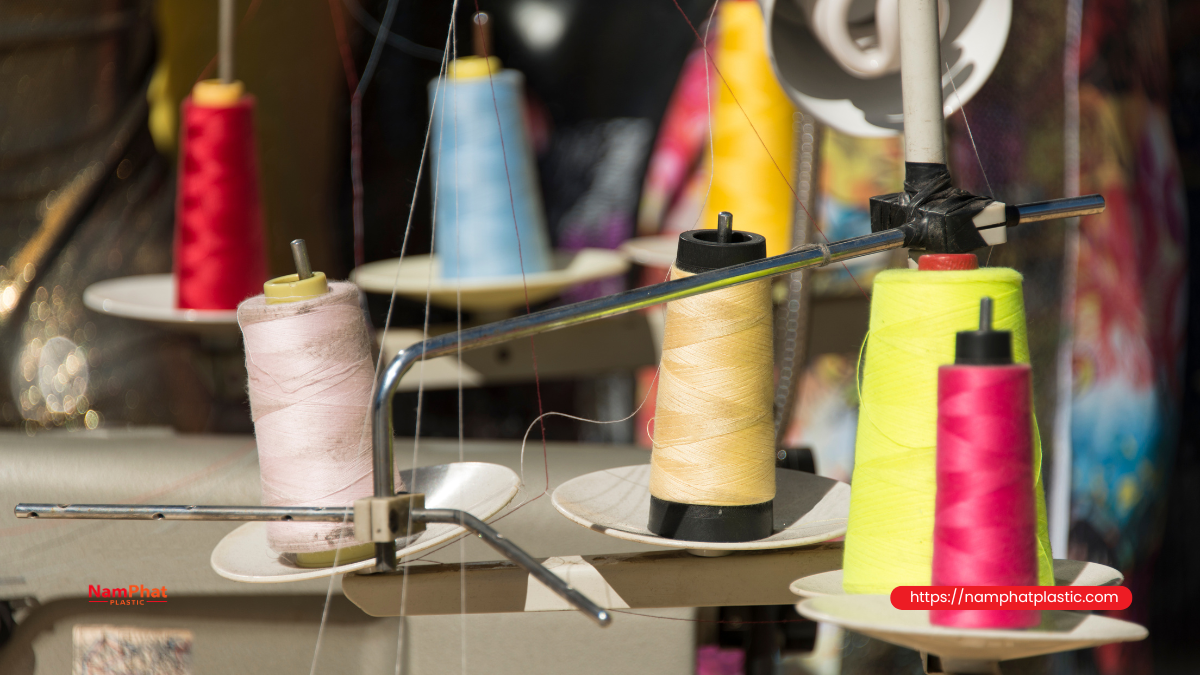
Do not check only whether the spool has the correct weight. Its shape and stability also directly affect unwinding performance.
Check the overall shape
A stable spool should have a relatively even shape without obvious dents, bulges, or displaced edges.
If a thread loop is already protruding before the spool is installed, it should be dealt with immediately rather than waiting until the machine runs at high speed.
Check the spool core
The core should be firm, free from cracks or dents, and compatible with the holding shaft.
A deformed core can cause the spool to rotate eccentrically. As a result, the pulling force on the thread changes with every rotation.
Check the spool edges
The spool edges are one of the easiest areas for detecting defects.
Check whether:
-
The thread layers are evenly positioned.
-
Any thread loops protrude beyond the edge.
-
One edge is noticeably higher than the other.
-
Any section of thread has shifted into a mass.
If an abnormality is found, mark the spool for tracking.
6. Do Unwinding Direction and Spool Placement Matter?
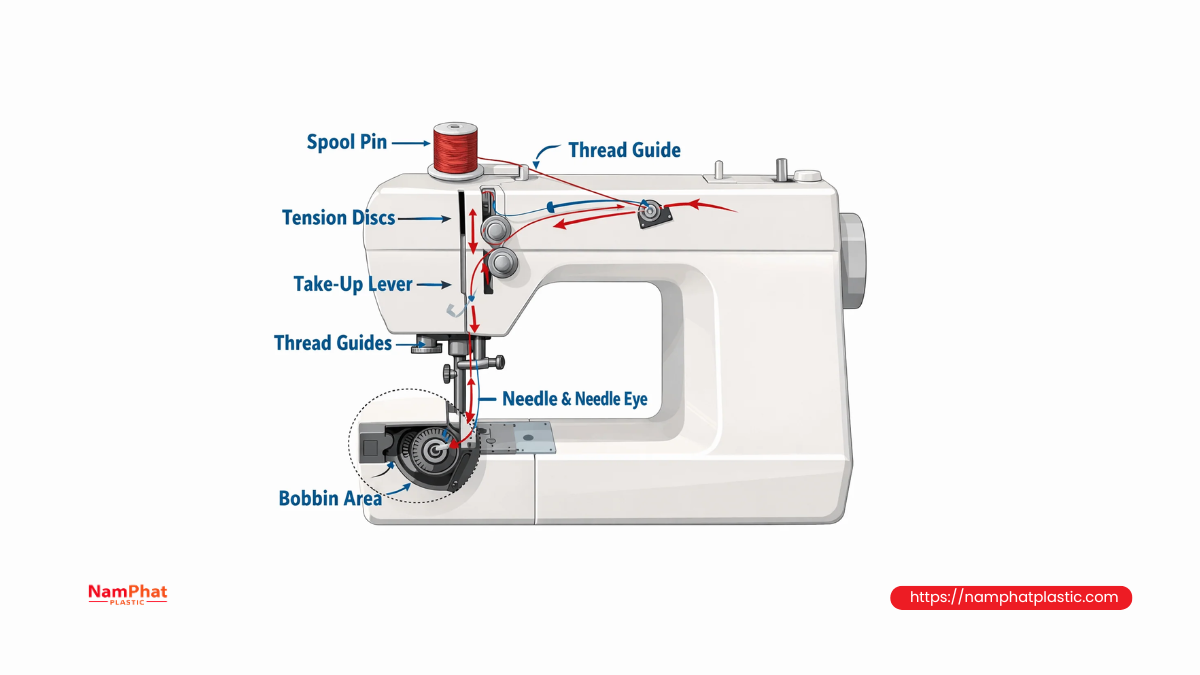
Yes. Two spools of the same type can have different unwinding performance depending on how they are positioned and operated.
The thread should leave the spool in a relatively stable direction and enter the first guide without changing direction too abruptly.
Misaligned spool unwinding direction
If the thread exit direction does not match the position of the first guide, the thread will continuously be pulled toward one side.
This lateral pulling force can cause uneven loading on the outer loops and increase the likelihood of loop slippage.
When installing the spool, check the thread path before running at high speed.
The distance from the spool to the first guide is too long
A large distance provides more space for the unwinding loop to develop and oscillate.
If the outer spool layer is slightly loose, a large unwinding loop may strike surrounding components and further pull the thread out of position.
Too many changes of direction in the thread path
After leaving the spool, the thread usually passes through several guides and tension components.
If the path contains too many sharp changes of direction, friction increases. The thread may be pulled intermittently, and this force can be transmitted back toward the spool.
Therefore, the thread path should be arranged to provide:
-
As few unnecessary direction changes as possible.
-
No sharp edges.
-
No gaps where the thread can become caught.
-
No forced contact between the thread and a metal surface.
-
A relatively stable unwinding direction.
7. How Does Thread Loop Slippage Affect Thread Tension?
A problem that begins at the thread spool can create multiple symptoms at the needle.
When a thread loop comes loose, a large amount of thread may be pulled from the spool in a very short time. Then, if the loose thread becomes caught, resistance increases.
The thread therefore repeatedly changes from a slack state to a high-tension state.
This can cause:
-
Thread tension to change even though the tension adjustment has not been changed.
-
Seams to alternate between tight and loose.
-
Uneven chain stitching.
-
Thread breakage during acceleration.
-
Skipped stitches or unstable loop formation.
Therefore, when the machine shows abnormal tension behavior, do not inspect only the tension discs. The spool and unwinding path should also be checked.
8. Identifying Causes by the Shape of the Defect
The shape of the loosened or tangled thread can provide useful information to the technician.
One thread loop slips into a large loop
Usually check the outer spool layer, spool edge, and unwinding speed.
If the loop appears immediately when the machine accelerates, prioritize checking the spool's ability to hold its outer layers.
One section of the spool shifts
This may be related to uneven winding tension, uneven thread distribution on the core, or deformation during transportation.
Compare it with other spools from the same lot to determine whether the defect occurs in the same position.
Thread concentrates around one side of the spool base
Check the unwinding direction, shaft concentricity, and any snag point in that area.
If the thread always winds toward one side, the pulling force may be misaligned or a fixed component may be holding the thread.
Thread winds into many very tight loops
This usually indicates that the thread has become caught at a fixed point while the spool continues rotating.
Do not pull the tangled thread forcefully while the machine is running. Stop the machine and identify the point holding the thread first.
9. Quick Troubleshooting Table for the Factory
| Symptom | Priority Cause | Quick Test | Corrective Action |
| One thread loop slips off the spool edge | Outer layer wound too loosely | Run at low speed | Check winding tightness |
| Multiple loops slip consecutively | Unstable spool, excessive speed | Reduce speed | Check spool and unwinding conditions |
| One section of the spool shifts | Uneven winding tension | Change to another spool from the same lot | Check the winding process |
| Spool wobbles during rotation | Misaligned core or shaft | Rotate manually | Align or replace the core |
| Thread slides toward the spool base | Unstable spool edge | Observe during acceleration | Check spool shape |
| Thread winds at one specific point | Fixed snag point | Inspect the spool base | Remove burrs or eliminate the snag point |
| Thread winds into multiple tight loops | Thread loop caught on the shaft | Stop the machine and inspect | Remove the tangled thread and correct the snag point |
| Thread breaks after loop slippage | Sudden increase in tension | Monitor the thread path | Check the unwinding system |
| Thread shifts only at high speed | Unsuitable unwinding conditions | Run slowly, then increase gradually | Adjust speed and spool position |
| Multiple spools from the same lot show the defect | Problem in the winding process | Use a control lot/spool | Review the production lot |
10. A 10-Minute Defect Inspection Procedure
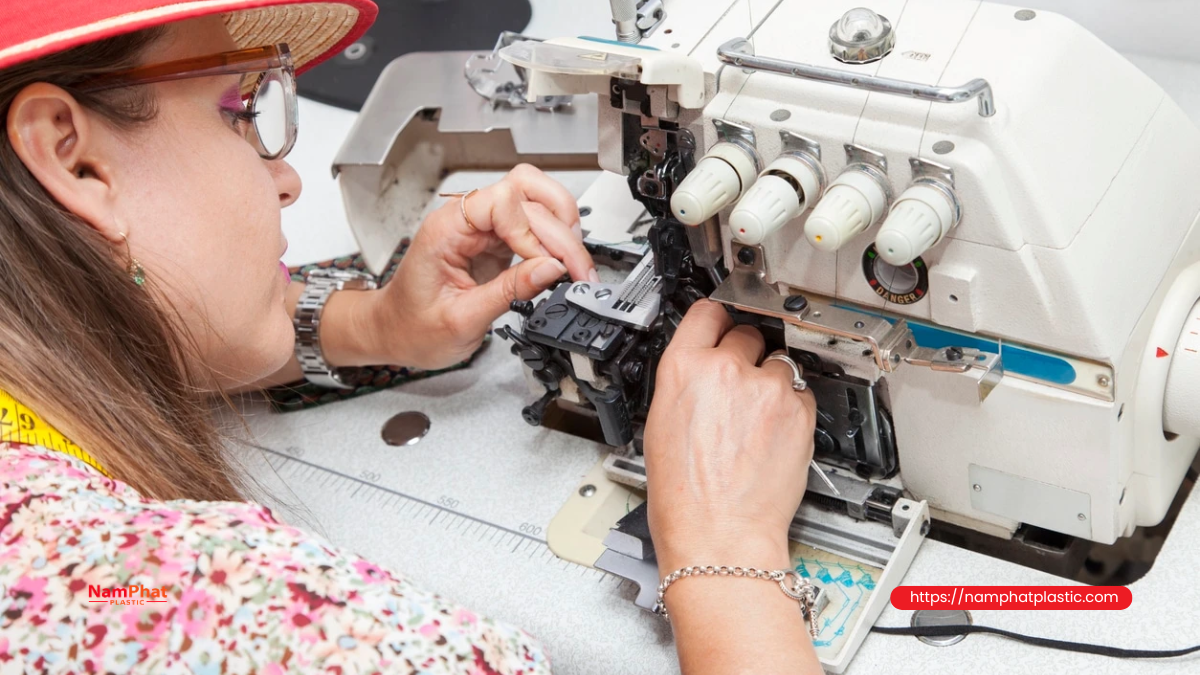
When a problem occurs, do not change the thread spool, needle, tension, and machine speed at the same time. Doing so may make the defect disappear without identifying its actual cause.
Step 1: Identify the defect type
First determine whether the thread is:
-
Losing a few loops.
-
Shifting in layers.
-
Coming loose as a mass.
-
Sliding toward the bottom of the spool.
-
Winding around the spool base.
-
Or breaking after the spool becomes caught.
Step 2: Record the spool condition
Observe and photograph the spool before removing the tangled thread.
Record the position where the shifting begins, the direction of thread movement, and which side of the spool is affected.
Step 3: Check the core and shaft
Remove the spool and rotate it manually.
If the spool wobbles or does not rotate concentrically, the mechanical issue should be corrected first.
Step 4: Check the spool base
Use your hand or a piece of soft fabric to inspect surfaces that may come into contact with the thread.
If the fabric catches at one point, that location may have a burr or sharp edge.
Step 5: Run the machine at low speed
After the mechanical inspection, run the machine at low speed.
If the spool remains stable, gradually increase the speed and observe when the defect appears.
Step 6: Change to a control spool
Use another spool of the same type that has already been confirmed to run normally.
If the control spool operates normally on the same machine, the problem is likely related to the original spool.
If the control spool also develops the defect, continue checking the shaft, spool base, unwinding direction, and thread path.
Step 7: Monitor thread tension
After correction, observe the entire thread path from the spool to the needle eye.
If the thread still jerks or tension remains uneven, the problem may not have been fully resolved.
Step 8: Record the result
Record:
-
Spool code.
-
Thread lot number.
-
Machine code.
-
Operating speed.
-
Defect type.
-
Location where the defect began.
-
Identified cause.
-
Corrective action.
This information is very useful if the problem occurs again.
11. How to Reduce Thread Loop Slippage and Layer Shifting in Production
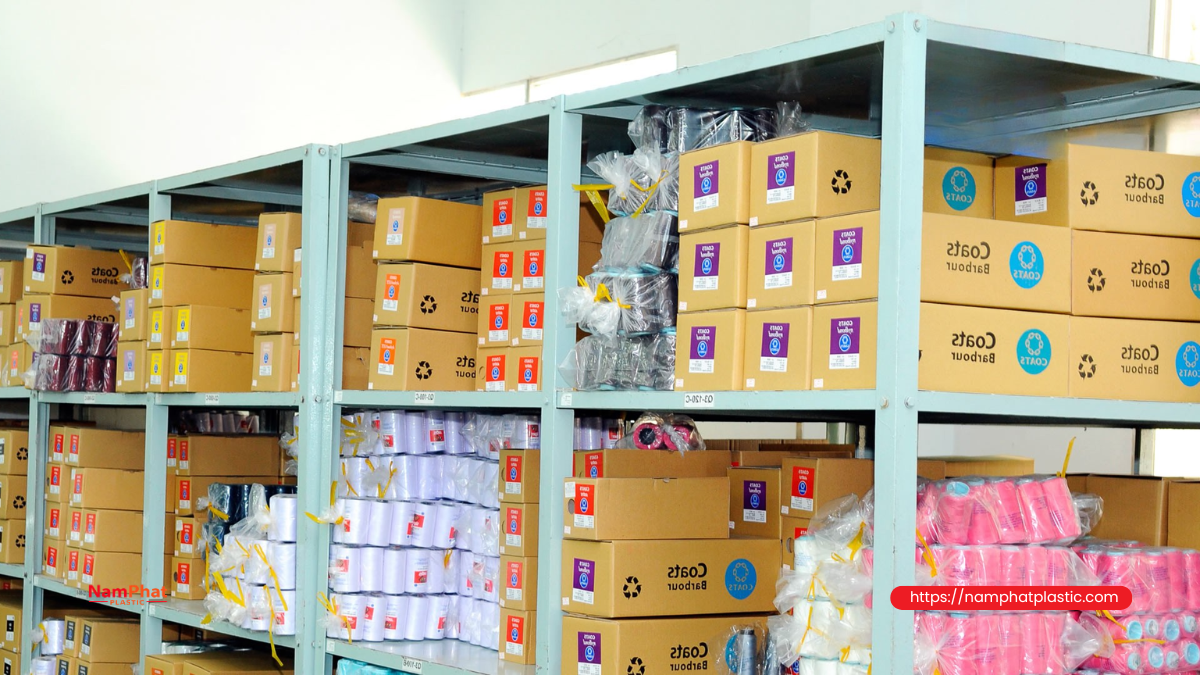
Correcting the problem after it occurs only addresses the immediate incident. To reduce defects over the long term, control is needed from receiving and storage through to machine installation.
Before production, perform a quick check of:
-
Overall spool shape.
-
Stability of both edges.
-
Core condition.
-
Any protruding thread loops.
-
Whether the spool has been dented during transportation.
-
Whether the spool wobbles during manual rotation.
Spools showing abnormalities should be marked and separated.
In addition, a newly introduced spool should not immediately be run at full production speed. Running it at low speed helps identify spools with unstable outer layers.
If the spool passes the low-speed test without loop slippage, the speed can be gradually increased to the required production level.
12. Should Thread Tension Be Increased to Handle Thread Loop Slippage?
Increasing thread tension should not be considered the primary solution.
Tension is adjusted at the thread feeding system, while the cause of loop slippage may lie in the spool structure, core, shaft, or a snag point around the spool base.
If the tension is increased excessively, the thread may experience higher friction at the guides and needle eye. At high machine speeds, this can even cause more thread breakage.
Therefore, the recommended inspection sequence is:
Spool → core → shaft → spool base → unwinding direction → thread path → speed → thread tension.
Only after the basic conditions are stable should thread tension be adjusted to optimize seam formation.
13. When Should a Thread Spool Be Removed From Production?
Not every case of a few slipped loops requires the spool to be discarded. However, some situations require the spool to be separated to avoid disrupting the production line.
A spool should be placed in the inspection area when:
-
The thread layers repeatedly shift during operation.
-
Thread loops repeatedly slide toward the spool base.
-
The core is clearly dented or misaligned.
-
The spool edge is deformed.
-
Thread repeatedly winds around the spool base even after the machine has been checked.
-
Multiple spools from the same lot show the same problem.
A spool that runs stably only at low speed but cannot meet the required production speed should also be evaluated separately.
Separating suspect spools helps prevent confusion between material defects and machine-related problems.
Frequently Asked Questions
1. Why does a new thread spool still experience loop slippage?
A new spool can still experience loop slippage if winding tightness is uneven, the outer layer is too loose, the spool edge is unstable, or the spool was deformed during transportation. Therefore, a new spool should not automatically be assumed to unwind reliably.
2. Does layer shifting mean the thread quality is poor?
Not necessarily. Layer shifting is often more closely related to winding method, winding tension, the core, and spool shape.
A simple check is to change to a control spool of the same type while keeping the machine conditions unchanged.
3. Why does the thread not shift at low speed but shift at high speed?
As speed increases, more thread is pulled from the spool per second.
Slightly loose layers are subjected to greater pulling force and are more likely to loosen. If the defect appears only at high speed, check the spool's layer-holding stability before adjusting thread tension.
4. Why does the thread always wind toward one side of the spool base?
The unwinding direction may be misaligned, or there may be a fixed snag point on that side. The concentricity of the spool and holding shaft should also be checked. If the spool wobbles, the pulling force toward one side may increase during each rotation.
5. Can the shifted section of thread simply be cut off and the spool used again?
If the shifted area is small, the spool structure remains stable, and the thread does not continue loosening, it may be possible to handle it according to the factory's internal procedure. However, if the thread continues slipping or quickly winds around the spool base, stop using the spool and investigate the cause.
6. Does thread winding around the spool base always mean the spool base is defective?
No. The spool base may only be the final snag point, while the original cause may be a thread loop that first slipped from the spool.
Therefore, both the spool structure and the snag point on the spool base should be inspected.
7. Can low speed be used as a long-term solution?
Reducing speed may help limit the problem, but it should not be considered a long-term solution if higher production speeds are required.
If the thread spool operates reliably only at low speed, the actual operating limit of the spool should be determined or the cause of layer slippage should be corrected.
8. How can you distinguish between a spool problem and a machine problem?
The simplest method is to replace the spool with a control spool on the same machine while keeping the other conditions unchanged.
If the problem disappears, inspect the original spool. If the problem remains, continue checking the shaft, spool base, unwinding direction, and thread path.
Conclusion
Thread loop slippage, layer shifting, and winding around the spool base are usually the result of a combination of spool structure, unwinding conditions, and thread feeding system arrangement.
A loose thread loop may be an early sign of a problem with the outer layer, spool edge, or core. Once the loop slides downward, gaps, sharp edges, or protruding components around the spool base can catch the thread. As the spool continues rotating, more thread is pulled into the snag point, creating a tangled mass and causing a sudden increase in thread tension.
Therefore, when this problem occurs, do not simply increase thread tension or immediately replace the spool. Check the spool shape, core, holding shaft, spool base, unwinding direction, thread path, machine speed, and a control spool in sequence.
When the factory records defects by spool code, lot number, and machine, root-cause identification becomes much faster. Proper control of spool quality from the beginning also helps reduce thread breakage, thread tangling, mid-production spool changes, and machine downtime during bag sewing.
>>> See also:
- 0 Comment


