


 Phan Van Hoang
- 06/08/2026
- 140
During the operation of bag-mouth sewing machines, there are cases where the machine runs stably in the middle of the seam, but the thread frequently breaks immediately when the bag is first fed into the machine or when the seam is being completed. This type of defect is easy to misdiagnose because operators often assume that the thread quality is unstable.
In reality, when thread breaks only at the beginning or end of the bag, the cause is often not the thread itself. The problem may result from a sudden change in thread tension, an unsuitable thread-tail length, a dull thread cutter, a needle with a burr, incorrect hook timing, or pulling the bag too early.
To troubleshoot correctly, it is necessary to determine exactly when the thread breaks, where the break occurs, and what the broken thread end looks like. Continuously increasing thread tension or replacing thread without checking the machine system can make the problem worse.
Table of Contents [Hide]
1. Why are the beginning and end of the seam two points where thread breaks easily?
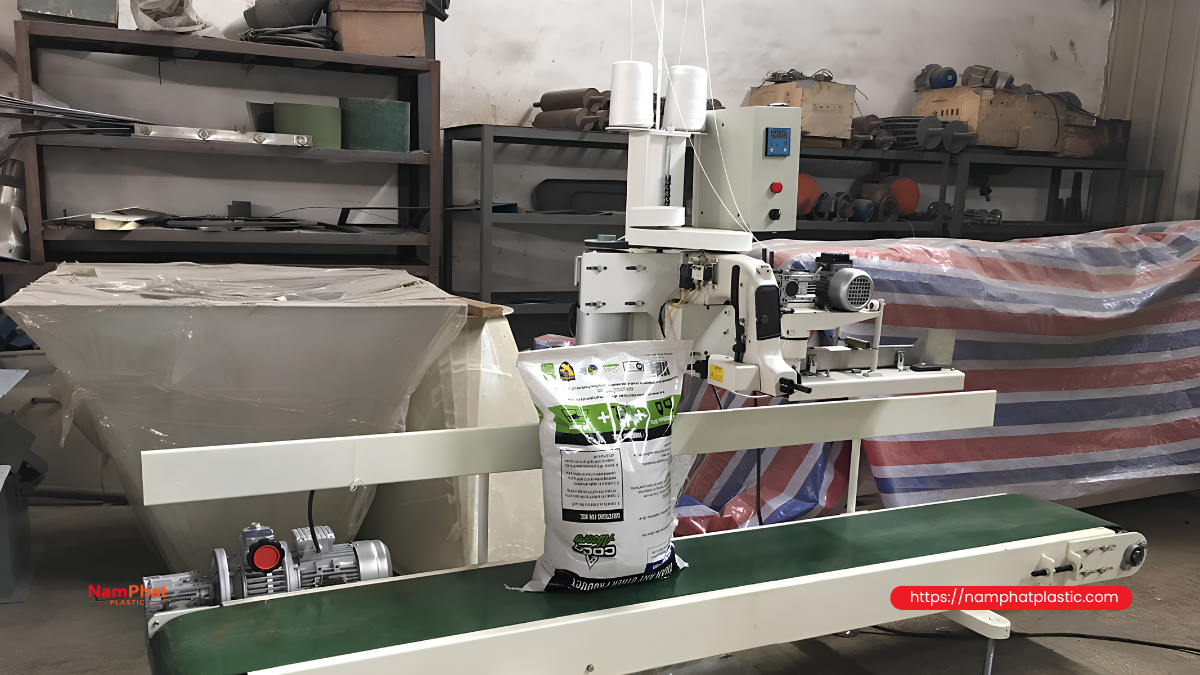
When the machine is running steadily in the middle of the seam, components such as the needle, hook, thread take-up, thread guides, and thread cone have reached relatively stable movement. Thread tension therefore fluctuates less.
In contrast, when starting or finishing a bag, the system must transition between different operating states:
-
From stationary to acceleration.
-
From steady running to deceleration or sudden stopping.
-
From forming a free chain to passing through multiple layers of the bag mouth.
-
From forming stitches to pulling the chain and cutting the thread.
-
From a no-load condition to the material-bearing condition.
These changes can create a short tension peak that is large enough to break the thread. Therefore, the same thread may run well for thousands of stitches in the middle of the seam but still break during the first few or last few stitches.
2. Four different types of defects must be distinguished
Before adjusting the machine, clearly distinguish the following four conditions:
2.1. Thread breaks immediately when the machine starts running
The machine has just started, the bag mouth has not yet been inserted, but the thread has already broken or the chain cannot be formed.
Common causes include:
-
Thread tail is too short.
-
Thread slips out of the needle eye.
-
Starting tension is too high.
-
Thread is caught in the guide system or thread cone.
-
Needle, needle plate, or hook has a burr.
-
The stitch-forming mechanism fails to catch the thread loop.
2.2. Thread breaks when the bag edge just enters the presser foot
The machine can form a chain normally, but the thread breaks as soon as the bag mouth contacts the needle.
Common causes include:
-
Bag mouth is too thick or folded unevenly.
-
Needle deflects when penetrating the bag edge.
-
Operator pushes the bag too forcefully.
-
Presser foot pressure is too high.
-
Needle size is not suitable for the thread size.
-
Needle contacts the needle plate or hook under load.
2.3. Thread breaks when the bag edge just leaves the presser foot
The seam on the bag body remains normal, but the thread breaks during the final stitches.
Common causes include:
-
Operator pulls the bag out too early.
-
Machine stops before forming enough final chain.
-
Tension does not decrease quickly enough when the material leaves the presser foot.
-
Thread becomes trapped between the bag edge, presser foot, and needle plate.
-
Needle is still inside the material while the bag is being pulled.
2.4. Thread breaks when the thread cutter operates
The seam and final chain have already formed, but during cutting, the thread becomes frayed, crushed, stretched, or breaks close to the needle eye.
Possible causes include:
-
Thread cutter is dull.
-
Cutter clearance is incorrect.
-
Cutter presses and crushes the thread instead of cutting cleanly.
-
Thread clamp holds the thread too tightly.
-
Cutter timing is incorrect.
-
Final chain section is too short.
Correctly classifying the defect can significantly reduce troubleshooting time.
3. Causes of thread breakage at the beginning of the bag
3.1. The thread tail or initial chain section is too short
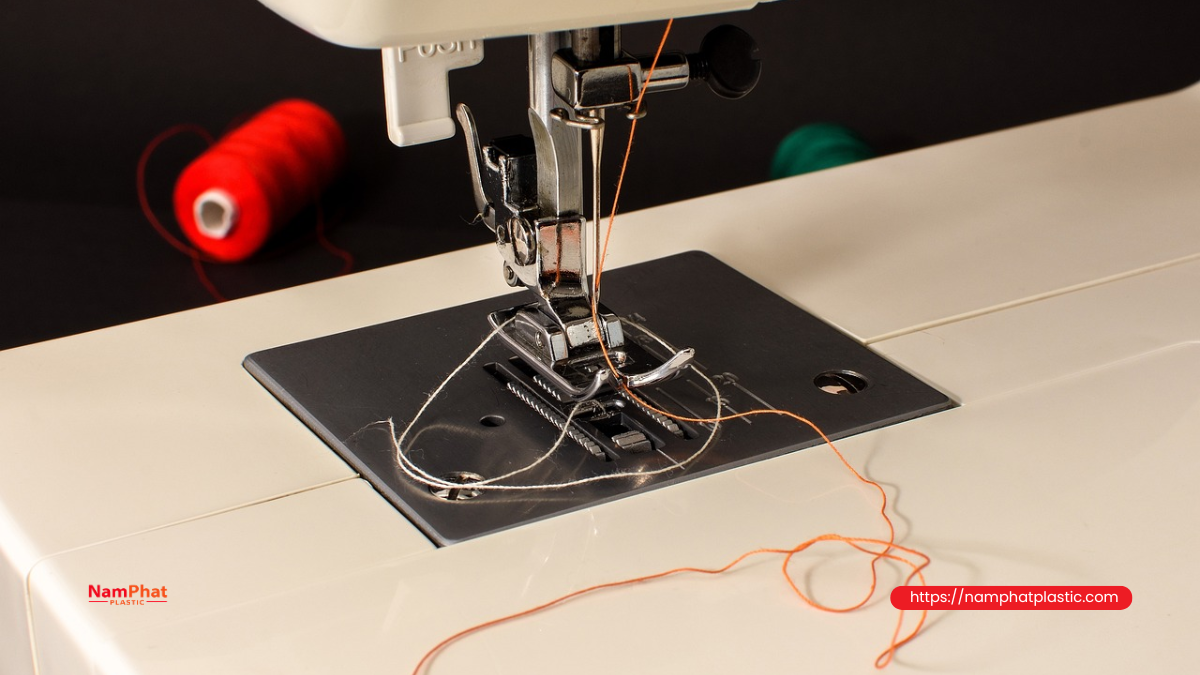
This is one of the most common causes. When the machine begins forming stitches, the needle and hook need enough thread to create the first thread loop.
If the thread tail is too short, the stitch-forming mechanism may pull the thread out of the needle eye or draw the remaining thread into the hook mechanism. The operator may see what appears to be thread breakage, but the thread may actually have slipped out.
Check:
-
Whether enough thread remains after cutting.
-
Whether the machine can form a chain before the bag is inserted.
-
Whether the thread clamp holds the thread too close.
-
Whether the thread is pulled backward through the needle eye during startup.
As an initial trial, an 8–12 cm chain or thread tail can be used, then adjusted according to the specific machine configuration. A single fixed length should not be applied to every bag sewing machine.
3.2. Tension suddenly increases during startup
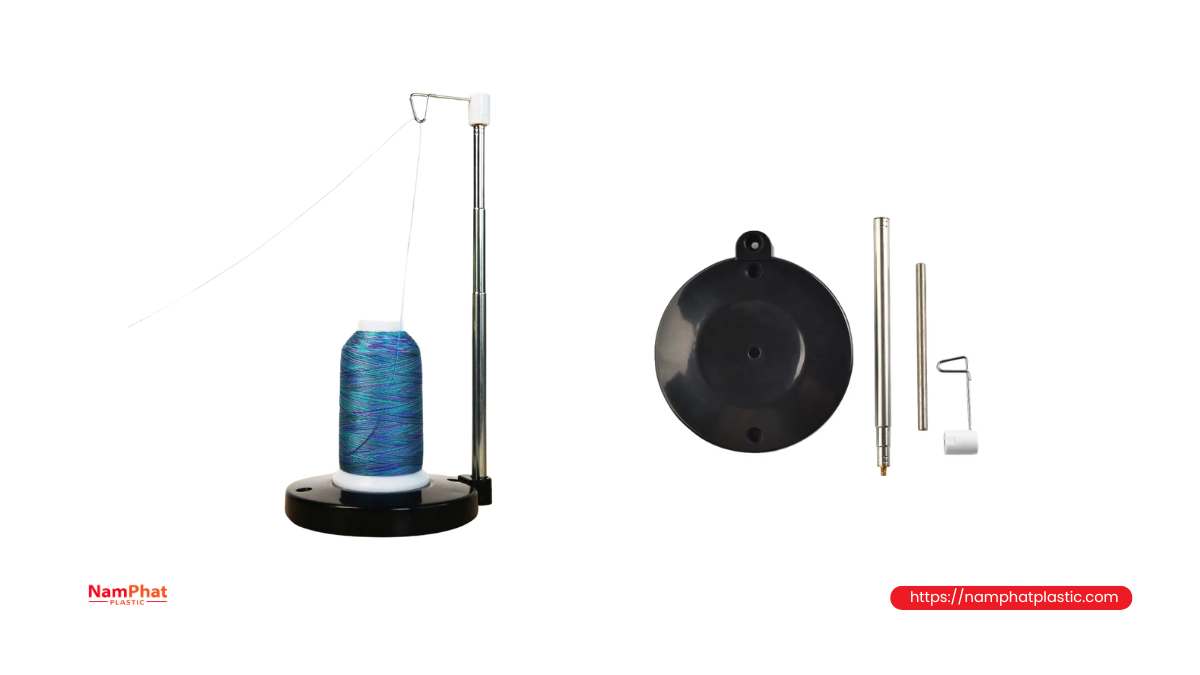
A stationary thread cone has inertia. When the machine accelerates rapidly, the thread take-up system must pull thread from the cone almost immediately. If the thread unwinds unevenly, tension can increase sharply during the first few revolutions.
This can occur when:
-
The thread cone is wound too tightly.
-
Thread layers on the cone have sunk or become pressed together.
-
The cone is installed in the wrong unwinding direction.
-
Thread rubs against the core edge or holder.
-
The thread path has too many sharp direction changes.
-
The tension spring is adjusted too tightly.
-
The thread has wrapped around a guide bar.
-
The machine accelerates too quickly immediately after the control pedal is pressed.
If the thread usually breaks on the first startup but runs normally after a length of thread has been pulled out beforehand, prioritize checking thread unwinding from the cone.
3.3. The thread gets caught at one point along the thread path
A small snag may not cause breakage when the operator pulls the thread slowly by hand. However, when the machine accelerates, the snag can create a very large pulling force.
Check:
-
Thread cone core edge.
-
First thread guide.
-
Ceramic guide eyelet.
-
Tension discs.
-
Tension compensation spring.
-
Guide near the needle.
-
Needle eye.
-
Hook and needle-plate surfaces.
Use a piece of soft fabric or thin cotton to wipe across metal surfaces. If the fiber catches, that location may have a burr or sharp edge.
3.4. The needle fails to catch the first thread loop
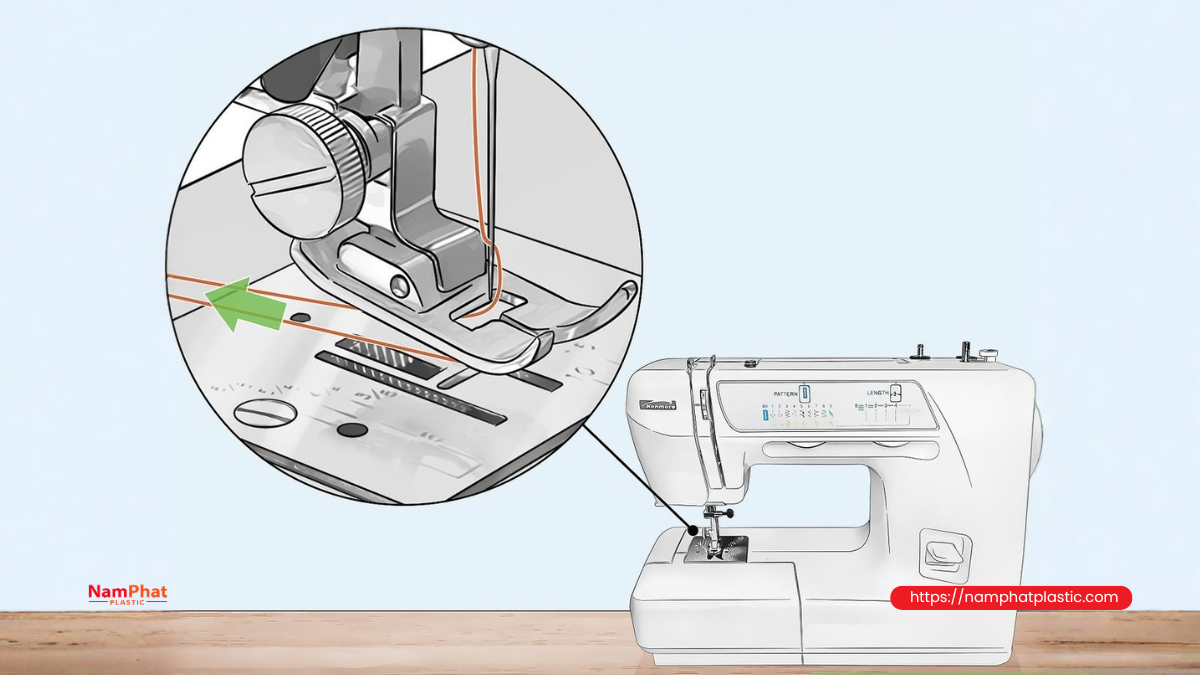
Bag sewing machines commonly use a chain-stitch mechanism. To form the stitch, the hook must enter the thread loop formed behind the needle at the correct timing.
If the needle and hook timing is incorrect, the machine may:
-
Fail to form the chain.
-
Skip stitches during the first few stitches.
-
Stretch the thread loop until it breaks.
-
Wrap thread around the hook.
-
Run at low speed but fail when speed increases.
Possible causes include hook misalignment, incomplete needle insertion, incorrect needle orientation, a bent needle, or excessive clearance between the hook and needle.
3.5. The bag mouth enters too abruptly
When the bag edge contacts the presser foot, the load on the needle increases suddenly. If the operator pushes hard, pulls sideways, or lifts the bag edge incorrectly, the needle may deflect to one side.
The thread may then:
-
Be squeezed between the needle and material.
-
Rub heavily against the needle eye.
-
Be pulled by the hook from the wrong position.
-
Become trapped between the needle and needle plate.
-
Break within one or two stitches.
This is particularly important when the bag mouth has large folds, multiple layers, or an uneven cut edge, because the penetration load can vary significantly from one point to another.
4. Causes of thread breakage at the end of the bag
4.1. The bag is pulled out while the needle is still in the material
This is a very common operating error. If the machine has not completed the final stitch and the operator pulls the bag sideways or forward, the needle and thread must simultaneously withstand the machine's force and the pulling force applied to the bag.
If the needle is still inserted into the bag mouth, pulling can:
-
Bend the needle.
-
Cut the thread at the needle eye.
-
Pull the thread away from the hook.
-
Make the final stitch excessively tight.
-
Create a burr on the needle or needle plate.
-
Break the thread close to the seam.
The operator should allow the machine to move the bag edge completely out from under the presser foot before pulling the final chain toward the cutter.
4.2. The final chain section is not long enough
After the bag edge passes the needle, the machine should continue running briefly to form a free chain. This chain provides stability to the final stitch and creates a safe distance before cutting.
If the machine stops immediately when the bag edge leaves the needle:
-
The final stitch may not be stabilized.
-
The thread may still be under high tension.
-
The cutter operates too close to the bag edge.
-
The thread can be pulled out or break close to the seam.
-
The final chain becomes too short, making the seam easier to unravel.
Therefore, do not solve the problem simply by increasing thread tension. Check how long the machine continues running after the bag edge leaves the presser foot.
4.3. The machine decelerates or stops too abruptly
When the machine stops, the thread cone and components along the thread path do not necessarily stop at exactly the same moment. If the deceleration is too rapid, the thread may experience a short tension pulse.
This can occur when:
-
The motor or controller is configured with too short a stopping time.
-
The braking mechanism acts too aggressively.
-
The tension compensation spring has lost its effectiveness.
-
The thread cone continues rotating after the machine stops.
-
The thread becomes slack and then is pulled backward.
-
The tension discs close too quickly.
If the thread usually breaks exactly when the pedal or control switch is released, inspect the deceleration movement rather than focusing only on the needle.
4.4. The thread cutter is dull or incorrectly positioned
A good thread cutter should separate the thread quickly and cleanly. When the cutter is dull, it does not cut immediately but instead presses, pulls, and crushes the fibers. This pulling force can be transmitted back to the needle eye and hook mechanism.
Signs of a cutter problem include:
-
Flattened thread end.
-
Frayed thread end without melting.
-
The thread must be pulled strongly before breaking.
-
Cutter works intermittently.
-
Chain stretches before breaking.
-
Thread frequently breaks close to the needle after cutting.
-
Cut edge is uneven, with many loose fibers.
Do not continuously increase cutter pressure to compensate for a dull blade. Excessive pressure can wear the shaft, misalign the cutter, and crush the thread more severely.
4.5. The thread clamp holds the thread too tightly
Some machines have a thread-clamping mechanism that works together with the cutter. If the clamping force is too high or the clamp closes too early, the thread is held fixed while the needle, hook, or thread take-up is still moving.
This causes a sudden increase in tension, and the thread may break at:
-
The needle eye.
-
The tension discs.
-
The clamping point.
-
The contact point with the hook.
-
The final chain section.
Check the coordination between chain formation, thread clamping, and cutting. These three operations must occur in the correct sequence.
5. The needle and needle eye can cause defects at both the beginning and end of the bag
A needle that can still penetrate the material does not necessarily mean that it is in good condition. A slightly bent needle, worn needle eye, or very small burr can still cause thread breakage.
When the machine is running steadily, the thread may temporarily pass the damaged point. However, when tension increases at the beginning or end of the bag, the thread is pressed harder against the defect and breaks.
Replace the needle when any of the following signs appear:
-
Broken thread end is frayed.
-
Thread repeatedly breaks close to the needle eye.
-
Needle makes a metal-contact sound.
-
Stitch line is not straight.
-
Needle becomes unusually hot.
-
Needle has contacted the presser foot or needle plate.
-
Thread runs well at low speed but breaks at higher speed.
-
Needle eye has scratches or is no longer smooth.
In addition to needle quality, check compatibility between needle size and thread size. An eye that is too small compresses the thread, increases friction, and restricts thread movement. An eye that is too large can make loop formation unstable, especially when sewing thin materials.
6. Needle temperature tends to cause more breakage at the end than at the beginning of the bag
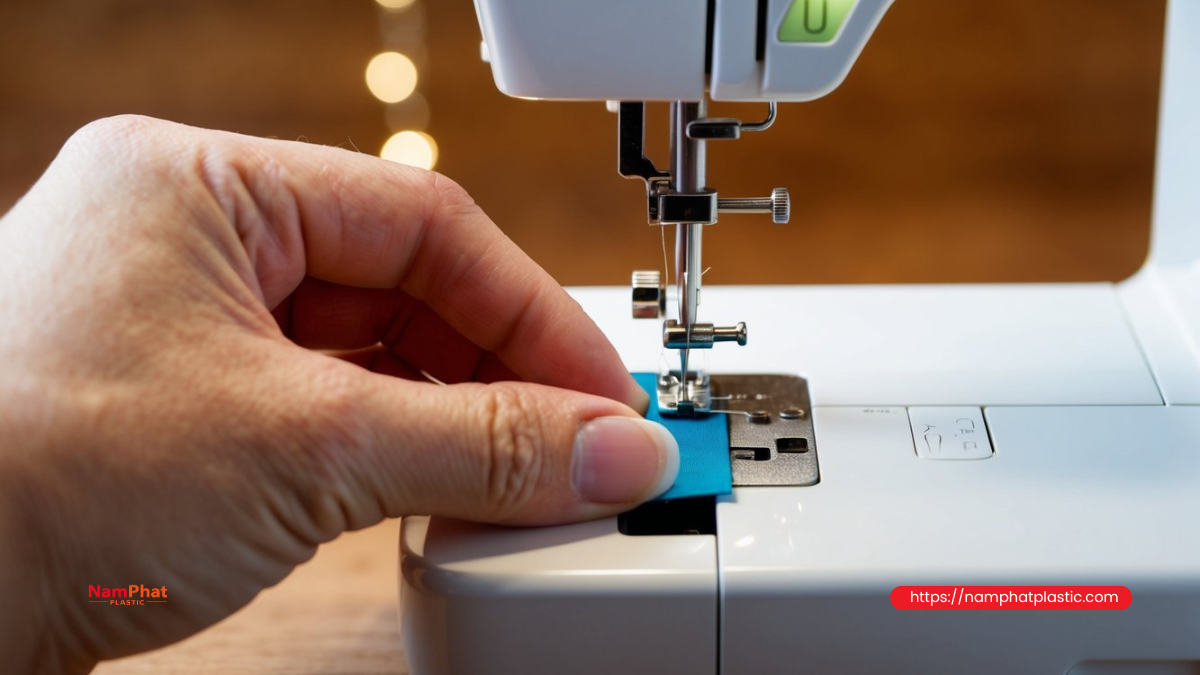
If the machine has just started from a cold condition and the thread breaks on the first stitch, needle temperature is usually not the main cause. However, if the machine runs continuously for many bags and thread then starts breaking near the end of the seam, needle temperature should be checked.
After a long sewing cycle, the needle can heat up due to friction with:
-
Multiple layers of the bag mouth.
-
Plastic-coated layers.
-
Hard or dusty materials.
-
Thread passing through the needle eye at high speed.
-
A dull or incorrectly sized needle.
When synthetic thread contacts an excessively hot needle area, its surface may soften, shrink, deform, or locally melt. When the machine stops at the end of the bag, the thread may remain in contact with the hot needle long enough to break.
A heat-damaged thread end often shows:
-
A small melted or shrunken lump.
-
A glossy surface.
-
Fibers stuck together.
-
A hardened or melted appearance.
-
Breakage increasing after continuous machine operation.
Corrective measures include reducing heat generation, checking needle size, replacing the needle, cleaning the sewing area, reducing speed for testing, and reassessing the finish/lubrication on the thread.
7. Uneven thread-cone quality can also cause defects to concentrate at the beginning of the bag
If a thread cone contains thick spots, knots, splices, or unevenly twisted sections, these defects may only cause breakage when they pass through a point where tension is high.
The beginning and end of the seam are precisely the moments when tension fluctuates strongly. Therefore, the same thread defect may pass through successfully when the machine is running slowly but break immediately when the machine accelerates or cuts the chain.
Check:
-
Whether the thread contains knots or splices.
-
Whether thread size changes along its length.
-
Whether the cone has areas that are wound too tightly or too loosely.
-
Whether the thread has excessive fuzz.
-
Whether twist is consistent.
-
Whether finish/lubrication is evenly distributed.
-
Whether the thread cone is dented, damp, or has a deformed core.
However, do not conclude that the defect is caused by the thread based on a single break. Cross-check between thread cones, machines, and needles to identify the actual source.
8. Examine the broken thread end to identify the cause
The appearance of the broken thread end provides important information.
Thread end is frayed like a brush
Possible causes include:
-
Friction at the needle eye.
-
Needle with a burr.
-
Scratched thread guide.
-
Thread rubbing against a sharp edge.
-
Damaged hook or needle plate.
-
Excessive short-duration tension.
Thread end is cut flat
Check:
-
Thread trapped between two metal components.
-
Needle contacting the needle plate.
-
Cutter operating in the wrong position.
-
Sharp edge on the presser foot or needle plate.
-
Thread cut by a hard material edge.
Thread end is flattened or crushed
Possible causes include:
-
Dull thread cutter.
-
Thread clamp holding too tightly.
-
Uneven pressure from the tension discs.
-
Thread being crushed between machine components.
Thread end is hardened or glossy
This is a sign that temperature should be checked:
-
Needle is too hot.
-
Excessive friction at the needle eye.
-
Thread is slipping and heating at one point along the path.
-
Coated material creates high friction.
No obvious break mark; thread simply slips out
This is often caused by:
-
Thread tail being too short.
-
Hook failing to catch the thread loop.
-
Incorrect threading path.
-
Insufficient initial tension.
-
Incorrect needle orientation.
-
Thread clamp releasing at the wrong time.
9. Quick troubleshooting table for the factory
| Observed condition | Priority cause to check | Quick test | Corrective direction |
| Thread breaks immediately when machine starts | Startup tension, thread snagging on cone | Pull a section of thread out first and restart | Check cone and thread path |
| Thread slips out of needle eye | Thread tail too short | Increase thread-tail length | Adjust clamp and cutter |
| Breaks when bag edge first enters needle | Thick bag mouth, bent needle, or excessive pushing | Test sewing on a flat sample | Replace needle, adjust presser foot |
| Breaks when bag leaves presser foot | Bag pulled too early | Allow machine to form more chain before removing bag | Standardize operator procedure |
| Breaks exactly during cutting | Dull cutter or excessive clamp pressure | Temporarily cut with scissors for comparison | Sharpen, replace, or adjust cutter |
| Thread end is frayed | Burr or high friction along thread path | Replace needle and inspect the entire path | Remove sharp point, replace worn component |
| Thread end is melted | Needle is too hot | Reduce speed and test with a new needle | Reduce heat, check needle size |
| Runs slowly but breaks at high speed | Timing, tension, or unstable thread delivery | Increase speed gradually to identify failure threshold | Adjust timing, tension, and cone holder |
| Breaks after many bags have been sewn | Hot needle or accumulated dust | Stop machine, allow it to cool, then restart | Clean machine and control temperature |
| Breaks randomly on multiple machines | Thread cone or thread-lot quality | Switch to a control cone | Inspect and replace the lot if necessary |
10. A 10-minute defect inspection procedure
Step 1: Determine whether the thread is actually broken or has slipped out
Do not use the same corrective action for both conditions. If the thread has slipped out of the needle, increasing tension may make the situation worse.
Step 2: Record exactly when the break occurs
Determine whether it occurs:
-
Before the bag enters.
-
When the bag edge first enters.
-
In the middle of the bag.
-
When the bag edge exits.
-
When the machine stops.
-
When the cutter operates.
Step 3: Inspect the thread end
Look for fraying, crushing, a flat cut, or melting. A small magnifying glass can be useful in factories that frequently troubleshoot thread defects.
Step 4: Replace with a new needle of the correct specification
This is a quick, low-cost test that can eliminate many possible causes. The new needle must be installed in the correct orientation and pushed fully into the needle holder.
Step 5: Check the thread path
Pull the thread by hand through each point. Pulling resistance should remain relatively uniform, without sudden snagging or abnormal sticking.
Step 6: Let the machine form a chain without a bag
If the machine cannot form a stable chain without material, do not continue adjusting it on the bag. Check the needle, hook, and timing first.
Step 7: Sew on a flat bag-mouth sample
Use a bag sample without large folds. If the flat sample runs well but the actual bag breaks, the cause is more likely related to the shape of the bag mouth or operator handling.
Step 8: Temporarily disable the thread cutter
Allow the machine to form a longer chain and cut it manually with scissors. If the breakage disappears, focus on the cutter and thread clamp.
Step 9: Switch to a control thread cone
Use a cone that has already been confirmed to run well on another machine. Do not change the needle, thread, and machine settings simultaneously, because it will be difficult to identify which factor caused the improvement.
Step 10: Increase speed gradually
After the machine runs well at low speed, gradually increase the speed. If the defect appears at a particular threshold, inspect tension fluctuation, thread delivery, timing, and needle temperature.
11. Do not immediately solve the problem by increasing thread tension
When encountering skipped stitches, an unstable chain, or a loose final stitch, many operators tend to tighten the tension discs. However, increasing thread tension can cause:
-
More thread breakage during startup.
-
Faster needle heating.
-
Wrinkled seams.
-
Shrinkage of the bag edge.
-
Faster needle-eye wear.
-
Greater load on the cutter.
-
Excessively tight final stitches.
Thread tension should only be high enough to form stable stitches that are properly balanced on the material. If excessively high tension is required to form a stitch, inspect the needle, hook, timing, and thread path.
12. Standardize operating procedures for workers
To reduce thread breakage at the beginning and end of bags, the operating cycle should be standardized:
-
Confirm that the machine forms a stable chain.
-
Feed the bag mouth straight without pushing sideways.
-
Do not pull or hold the bag back while the needle is penetrating the material.
-
Keep the folded edge of the bag mouth relatively uniform.
-
When the bag edge leaves the presser foot, allow the machine to form an appropriate length of chain.
-
Pull the chain toward the cutter only after the needle has left the material.
-
Do not jerk the bag to replace the cutting operation.
-
When thread breaks, keep the broken thread end for the technician to inspect.
Training workers using specific operating actions is often more effective than simply telling them to "operate the machine carefully."
13. Maintenance items that should be checked periodically
Every shift
-
Clean dust around the needle, presser foot, and needle plate.
-
Check the initial chain section.
-
Observe thread unwinding from the cone.
-
Listen for metal-contact sounds from the needle.
-
Check whether the cutter cuts cleanly.
Daily
-
Check thread guide eyelets.
-
Check whether the needle is bent, dull, or scratched.
-
Clean the tension discs.
-
Check the hook for dust or thread debris.
-
Record the number of thread breaks for each machine.
Weekly
-
Check play in the needle holder and presser foot.
-
Check the relative position of the needle and hook.
-
Check the tension spring and thread take-up mechanism.
-
Check cutter, clamp, and cutting stroke.
-
Inspect areas that may develop burrs.
14. Record defects by machine, shift, and thread lot
If the factory only records a general statement such as "thread keeps breaking," it will be difficult to identify the actual cause. A tracking sheet should include:
-
Machine ID.
-
Operating shift.
-
Operator.
-
Bag type.
-
Number of bag-mouth layers.
-
Needle type and size.
-
Thread lot number.
-
Breakage timing.
-
Appearance of broken thread end.
-
Corrective action taken.
-
Result after adjustment.
Over time, the data may reveal patterns such as:
-
One machine frequently breaks thread during cutting.
-
One operator tends to pull the bag too early.
-
One type of bag causes the needle to heat quickly.
-
One thread lot contains more abnormal thick spots.
-
One needle size is unsuitable for a 20/8 or 20/9 configuration.
-
Breakage increases after a certain period of continuous operation.
Frequently Asked Questions
1. Why does the machine break thread only on the first bag after changing the thread cone?
This may be caused by the thread not being correctly routed through the entire path, a thread tail that is too short, unstable thread unwinding, or thread being caught at the cone core edge. Pull the thread by hand and allow the machine to form a chain before inserting the bag.
2. Why does the same thread cone run well on one machine but break on another?
Each machine may have a different needle, hook, guide system, tension setting, and cutter condition. A machine with a small burr or incorrect timing can break a thread that runs normally on another machine.
3. Does thread breakage at the end of the bag mean the thread is weak?
The break location alone is not enough to conclude that the thread is weak. Breakage at the end of the bag is often associated with operator handling, final chain length, cutter, thread clamp, and needle temperature.
4. Should all thread tension be reduced when thread breaks at the beginning of the bag?
Only reduce tension in small steps while monitoring stitch formation. Excessive reduction can cause skipped stitches, a loose chain, or a seam that is easy to unravel.
5. Why does replacing the needle make the machine run well, but the problem returns later?
The needle may be repeatedly bent by pulling the bag, contacting the needle plate, penetrating an excessively thick fold, or using an unsuitable needle size. The cause of needle damage must be addressed rather than simply replacing the needle repeatedly.
6. How can heat-related breakage be distinguished from breakage caused by a sharp edge?
A heat-damaged thread end is usually shrunken, glossy, or hardened. A thread cut by a sharp edge generally has a flat or locally frayed end without signs of melting.
Conclusion
When thread frequently breaks at the beginning or end of the bag but runs stably in the middle of the seam, the focus should be on the machine's transition conditions rather than simply evaluating thread strength.
At the beginning of the bag, priority causes include a thread tail that is too short, a sudden increase in tension, unstable thread unwinding, failure of the needle to catch the thread loop, and the bag mouth entering too abruptly.
At the end of the bag, check operator handling, final chain length, machine stopping behavior, cutter, thread clamp, and needle temperature after continuous operation.
The most effective approach is to determine exactly when the break occurs, inspect the thread end, replace the needle with a control needle, check the thread path, and isolate the influence of the thread cutter. Once the factory standardizes this troubleshooting process, machine downtime can be reduced, seam stability can be improved, and thread quality can be evaluated more accurately.
>>> See also:
- 0 Comment


