


 Phan Van Hoang
- 25/07/2026
- 133
Table of Contents [Hide]
1. Why should you test a thread sample before placing a large order?
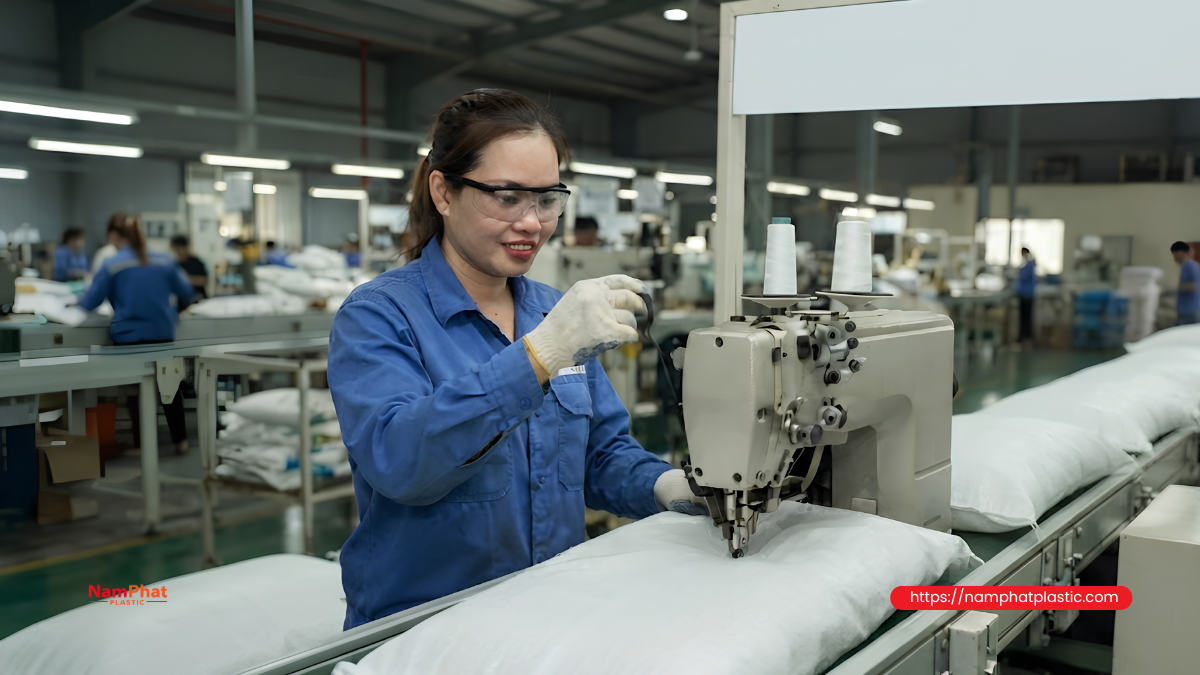
In packaging production, sewing thread usually represents a relatively small share of costs compared with bag materials, labor, or equipment. However, an unsuitable thread batch can significantly increase thread breaks, machine downtime, skipped seams, torn bag edges, and customer complaints.
A thread sample with high tensile strength does not necessarily run stably on a production line. Conversely, a thread with average technical specifications but good consistency, low fuzz, and stable unwinding may help the machine operate more efficiently.
Therefore, thread sample testing should not stop at sewing a few short seams to see whether the thread breaks. Businesses should establish a controlled testing process with sufficient time and production volume to comprehensively evaluate:
- Compatibility between the thread and sewing machine.
- Stability during continuous production.
- Seam strength and appearance.
- Thread consumption per unit of product.
- Frequency of machine downtime caused by thread-related problems.
- Suitability for different types of bags and production speeds.
- Consistency between rolls within the same sample batch.
Trial results provide an important basis for deciding whether to place a large order, request specification adjustments from the supplier, or continue looking for another thread source.
2. What are the risks of skipping the trial run?
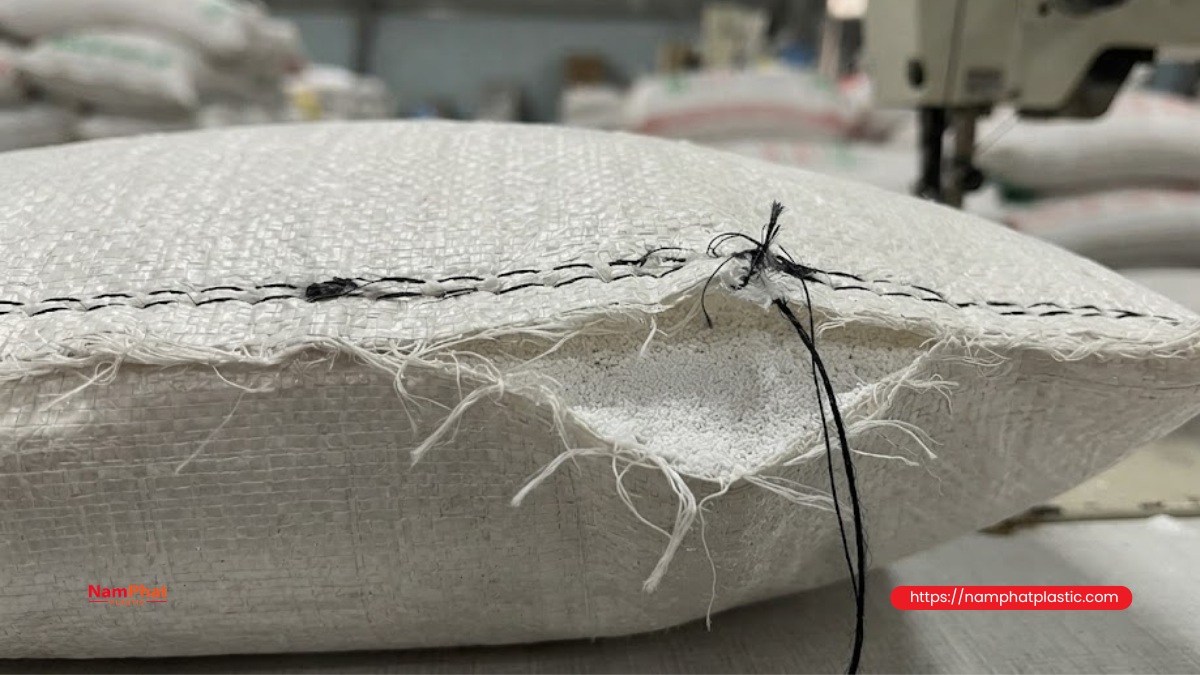
Placing an order directly based on a quotation, color sample, or technical specification sheet can expose a business to several risks.
Thread has sufficient strength but is unsuitable for machine speed
Some threads have relatively high breaking strength under static testing but may become hot, fuzzy, or unevenly elongated when running at high speed. As the thread continuously passes through the thread guide, tension discs, and sewing needle, its fiber structure may be damaged, resulting in irregular thread breaks.
Unstable thread unwinding
A thread roll that is unevenly formed, too tight, too soft, or improperly cross-wound can cause thread jerking. When unwinding tension changes continuously, the seam may become loose, locally over-tensioned, or skip stitches.
Inconsistent specifications between rolls
A supplier may provide one high-quality sample roll, while the actual production batch may show differences between rolls. If only one roll is tested for a short period, the business may not detect this issue.
Increased machine downtime
Each thread break requires the operator to stop the production line, rethread the machine, handle defective products, and restart the machine. Although each intervention may be brief, the total lost time during a production shift can become significant if the problem occurs repeatedly.
Seams fail to meet application requirements
A thread may run successfully on the machine while the resulting seam is still unsuitable for the product. Seams that are too stiff, too loose, easily unravel at the chain-stitch end, or tear the bag edge can all cause problems during filling, storage, and transportation.
3. General principles for testing a thread sample
To make the test results meaningful, businesses should follow three basic principles.
Change only one main variable during each trial
When testing a new thread sample, keep other conditions unchanged, such as the sewing machine, needle, bag type, production speed, and machine settings. If the thread, needle, tension, and machine speed are all changed at the same time, it becomes difficult to identify the cause when a problem occurs.
Use a control sample
The control sample is the thread currently running stably on the production line. The new sample and control sample should be tested under equivalent conditions for an objective comparison.
Evaluate using data rather than impressions
Comments such as “the thread runs quite well,” “it breaks less,” or “the seam looks good” are often subjective. The testing process should record specific indicators such as the number of thread breaks, number of defective bags, machine downtime, and thread consumption.
4. Thread sample trial process on the production line
Step 1: Determine the requirements for the thread sample
Before receiving the sample, the technical or production department should clearly determine which sewing operation the thread will be tested for.
The following information should be agreed upon:
| Item | Information to determine |
| Application | Bag bottom sewing, bag mouth closing, or accessory sewing |
| Machine type | Portable bag sewing machine, single-needle, double-needle, or automatic production line |
| Stitch structure | Single-thread chain stitch, two-thread chain stitch, or other structure |
| Bag type | Woven PP bags, BOPP laminated bags, paper bags, laminated film bags |
| Operating speed | Actual speed or bags produced per minute |
| Thread specification | Material, number of plies, fineness, and color |
| Roll weight | Net weight and roll dimensions suitable for the holder |
| Special requirements | Oil-free, low fuzz, heat resistance, softness, or custom color |
Determining the requirements from the beginning helps the supplier provide the correct sample and reduces the possibility of testing a product that is unsuitable for the actual application.
Step 2: Inspect the sample before loading it onto the machine
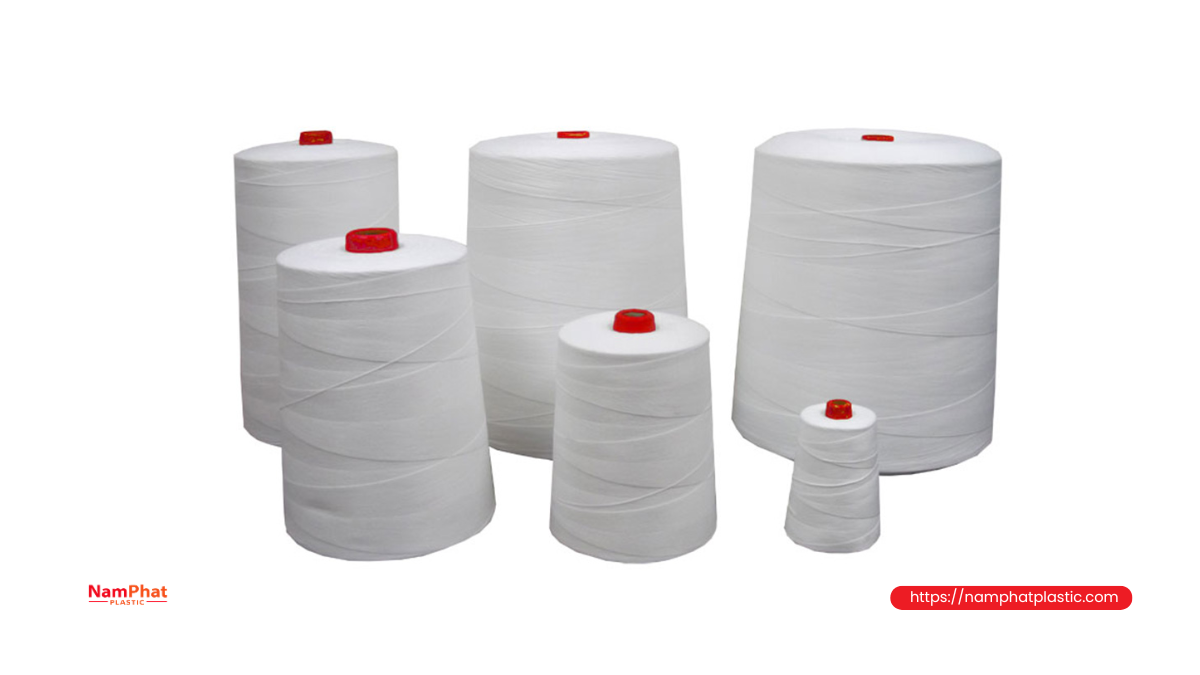
Do not immediately load the thread roll onto the machine after receiving it. First, inspect its appearance and identification information.
Check the label and specifications
Each roll or sample package should include:
- Product name or code.
- Thread material.
- Thread specification.
- Net weight.
- Color.
- Production batch number.
- Production date, if available.
- Supplier name.
If several sample rolls do not have batch codes or cannot be traced, the business will have difficulty addressing quality issues after testing.
Check the shape of the thread roll
Inspect the roll for:
- Deformation or tilting.
- Uneven roll edges.
- Thread wound too loosely or too tightly.
- Slipped, sunken, or abnormally overlapping sections.
- Excessive fuzz on the roll surface.
- Thread end that is difficult to locate or trapped inside the roll.
- Roll core that is incompatible with the machine holder.
Roll shape directly affects thread unwinding. A thread roll with good tensile strength but unstable winding can still cause thread jerking and breakage during operation.
Perform a quick manual check
Several preliminary checks can be performed:
- Pull the thread from the roll at a steady speed.
- Observe whether unwinding force changes abnormally.
- Check whether the thread twists, forms loops, or creates knots.
- Gently run the thread through your fingers to assess fuzz.
- Compare the perceived softness and diameter with the thread currently in use.
These checks do not replace instrument-based testing, but they can help identify samples with obvious abnormalities at an early stage.
Step 3: Standardize machine conditions before testing
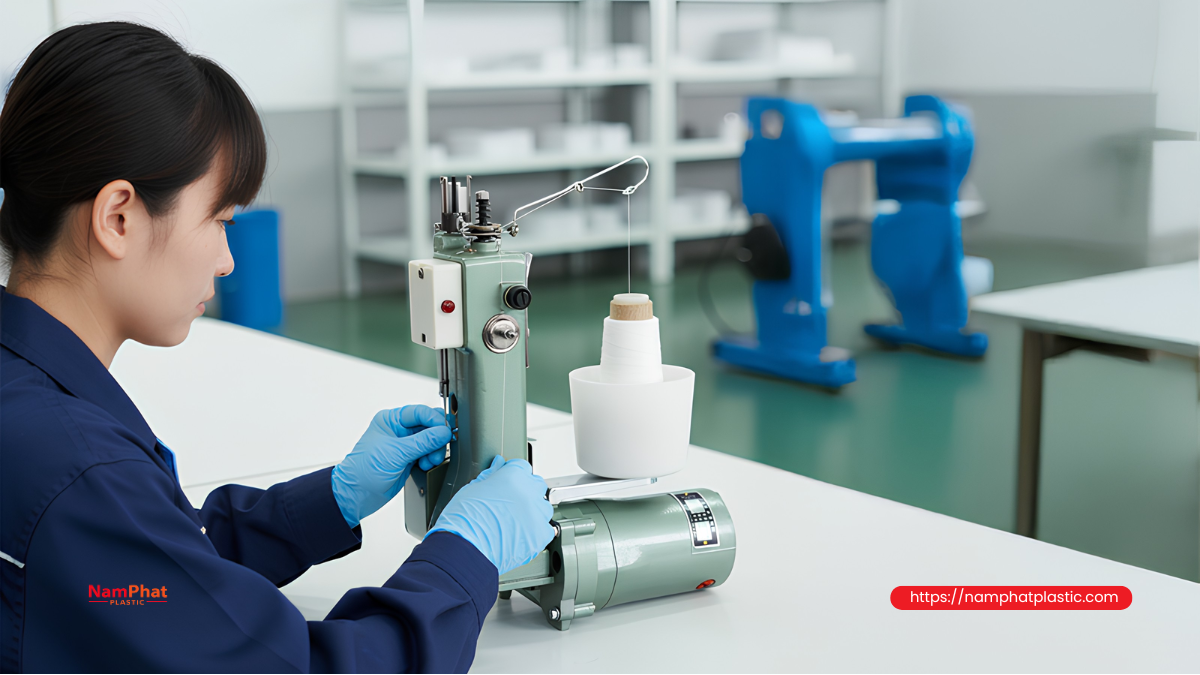
A common mistake is to put new thread on a machine that is dirty, has a worn needle, or has burrs on the thread guide. When the thread breaks, the business may immediately conclude that the thread quality is poor, while the actual cause may be the equipment.
Before testing, check:
- Whether the sewing needle is bent, dull, or damaged.
- Whether the needle eye has sharp edges.
- Whether the thread guide contains dust or fiber buildup.
- Whether the tension discs operate smoothly.
- Whether the hook, looper, or stitch-forming mechanism is worn.
- Whether the thread path rubs against metal edges.
- Whether the thread holder is secure and properly aligned.
- Whether the thread cutter operates correctly.
After cleaning and checking the machine, run the machine again using the currently used thread to confirm stable operation. Only when the control sample runs normally should testing of the new sample begin.
Step 4: Record the initial machine settings
All settings before changing the thread should be recorded. Important data includes:
- Machine code.
- Needle type and size.
- Stitch length.
- Needle thread tension.
- Looper or lower thread tension.
- Machine speed.
- Conveyor speed.
- Bag type being used.
- Number of material layers at the sewing position.
- Temperature and humidity of the area, if monitored.
Recording these settings allows the trial to be reproduced and prevents excessive adjustments that cannot be properly controlled.
Step 5: Run the test at low speed
The initial stage should be run at low speed for a short period to check stitch formation.
Observe:
- Whether the thread follows the correct thread path.
- Whether the stitches form completely.
- Whether the thread twists or jumps out of the guide.
- Whether the seam is loose on the upper or lower side.
- Whether skipped stitches, thread tangling, or bag-edge puckering occur.
- Whether the chain-stitch end unravels easily after cutting.
If the seam is not balanced, the thread tension can be adjusted slightly. However, each change should be recorded to determine whether the thread requires significantly different settings from the current type.
A thread that requires only minor adjustment to achieve stable operation may still be acceptable. However, if the machine requires major changes, a significant speed reduction, or continuous intervention to keep running, the business should carefully consider the sample before placing a large order.
Step 6: Gradually increase to the actual production speed
After the sample forms stable stitches at low speed, increase the speed step by step rather than immediately running at maximum speed.
The test can be divided into three levels:
- Approximately 50% of normal production speed.
- Approximately 75% of production speed.
- Actual operating speed of the production line.
At each level, run the machine long enough to observe stability. If the thread only begins to fuzz or break when the speed increases, inspect friction at the needle and thread guides as well as thread tension.
An acceptable sample should not only run at normal speed but also remain stable during machine acceleration, deceleration, stopping, and restarting.
Step 7: Run the test continuously for a sufficient period
Sewing only 10–20 bags can reveal obvious defects. To evaluate actual operating capability, the thread sample should be run for a longer period.
Depending on the production line, the business can organize the test into three stages:
Short trial
The goal is to check initial compatibility.
- Reference output: 50–100 bags.
- Evaluation: stitch formation, tension, seam appearance, and early thread-breakage problems.
Medium trial
The goal is to evaluate stability during a production cycle.
- Reference output: 500–1,000 bags.
- Evaluation: thread-break frequency, needle temperature, fiber buildup, and thread unwinding from the roll.
Extended trial
The goal is to simulate actual ordering and operating conditions.
- Reference duration: at least one production shift.
- Test at least two rolls.
- If possible, test on multiple machines or production shifts.
The above levels are for reference only. Businesses should adjust them according to production-line speed, product value, and order risk.
Step 8: Monitor defects during the trial run
Throughout the trial, the person responsible should record each incident rather than only summarizing them at the end of the shift.
Thread breaks
Record:
- Time of breakage.
- Breakage location.
- Machine speed when the problem occurred.
- Whether the thread broke at the needle, tension device, roll, or another location.
- Whether there are signs of fuzzing, melting, or abrasion.
- Time required to reconnect the thread and restart the machine.
The breakage location helps identify the cause. If the thread repeatedly breaks at the same point, the cause may be a burr or localized friction rather than fiber quality.
Skipped stitches
Skipped stitches may result from the needle, hook mechanism, tension, or thread elongation. Record the number of defective bags and whether the problem repeatedly occurs at the same position.
Loose or unbalanced seams
Check both sides of the seam. If thread loops are concentrated on one side, the tension between the threads is not balanced.
Thread fuzz
Observe fiber buildup around:
- Needle eye.
- Tension discs.
- Thread guides.
- Stitch-forming hook or looper.
- Areas around the machine.
Thread that produces excessive fuzz can increase friction, attract dust, and affect stability during long runs.
Thread jerking or uneven unwinding
If the thread roll vibrates, jerks, or produces fluctuating unwinding force, inspect the roll structure and roll orientation. This problem often appears intermittently, causing the machine to run normally at some times and abnormally at others.
Needle heating or thread deformation
When the machine runs at high speed, heat at the needle can cause the thread to soften, fuzz, shrink, or partially melt. Check the thread end after breakage and observe its color and shape.
Step 9: Check seam quality after sewing
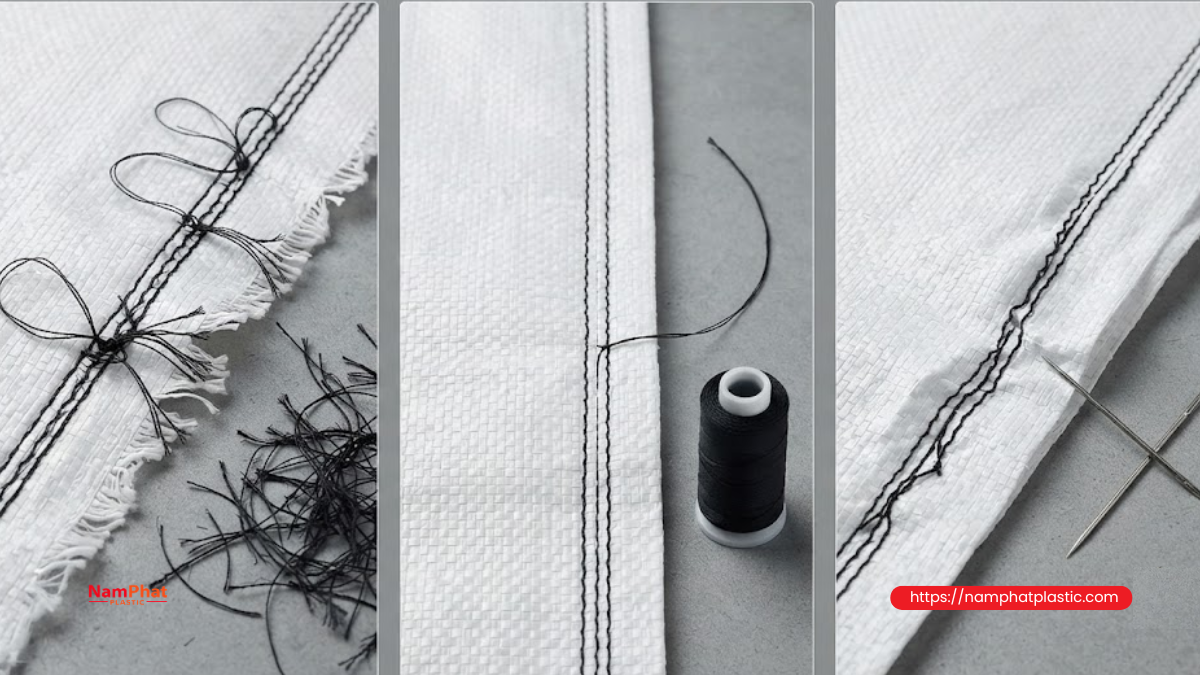
A thread that runs without breaking is not enough to conclude that it meets requirements. The sewn finished product should be checked for both appearance and strength.
Visual inspection
An acceptable seam should have:
- Even stitches.
- Stable stitch spacing.
- No skipped stitches.
- No excessively loose thread sections.
- No puckering or cutting of the material.
- Fully formed chain stitches.
- A securely retained seam end after cutting.
Manual pull test
The two edges of the bag can be pulled in the direction of actual loading to observe:
- Whether the thread breaks suddenly.
- Whether the chain stitches unravel sequentially.
- Whether the bag material tears first or the thread fails first.
- Whether the seam deforms excessively.
Manual testing is suitable for quick screening, but it should not completely replace instrument testing when the product has high technical requirements.
Instrument testing
Where possible, the business should use a tensile testing machine to measure seam breaking force. Test samples should be cut to the same dimensions, taken from the same positions, and tested under equivalent conditions.
At least three groups should be compared:
- Bags sewn with the current thread.
- Bags sewn with the new thread sample.
- Bags after storage or simulated transportation conditions.
The results should consider both the average value and variation between samples. A thread with higher average tensile strength but large variation may be less stable than a sample with slightly lower tensile strength but better consistency.
Step 10: Evaluate thread consumption
Purchase price per kilogram or per roll does not fully reflect actual usage cost. Two thread types with the same roll weight may differ in actual length, bulk, and consumption during sewing.
The business can evaluate consumption by:
- Weighing the thread roll before the trial.
- Recording the number of bags sewn.
- Weighing the roll again after the trial.
- Subtracting leftover thread, joining thread, or unrelated losses where applicable.
- Calculating average thread consumption per 1,000 bags.
Reference formula:
- Thread consumption per 1,000 bags = Thread weight used ÷ Number of acceptable bags × 1,000
When comparing costs, include losses from machine downtime, defective products, and operator time spent handling problems.
A thread with a lower purchase price but higher consumption, frequent breakage, or reduced productivity may not actually provide a lower production cost.
Step 11: Compare the new sample with the thread currently in use
The comparison table should include both technical and operational indicators.
| Criteria | Current thread | New thread sample | Evaluation |
| Number of bags sewn | |||
| Number of thread breaks | |||
| Total machine downtime | |||
| Number of skipped-stitch bags | |||
| Number of loose-seam bags | |||
| Fiber buildup at thread guide | |||
| Thread consumption | |||
| Seam strength | |||
| Achieved machine speed | |||
| Ease of adjustment |
The new sample should not be selected solely because of its lower price or higher tensile strength. The decision should be based on overall production efficiency.
Step 12: Establish thread sample acceptance criteria
Each factory should establish its own criteria based on the product, machinery, and customer requirements. A reference set of criteria may include:
- Stable operation at normal production speed.
- No significant increase in thread breaks compared with the control sample.
- Skipped-stitch and seam-defect rates remain within internal limits.
- Seam appearance and strength meet requirements.
- Thread unwinds evenly from the beginning to the end of the roll.
- Fiber buildup does not cause abnormal machine contamination.
- No production-line speed reduction is required to maintain operation.
- Thread consumption is not significantly higher.
- Sample rolls have relatively consistent quality.
- The supplier can maintain the specified requirements when supplying large batches.
Acceptance thresholds should be defined using specific data. For example, a business may establish a maximum number of thread breaks per 1,000 or 10,000 bags, but the figure should be based on actual production-line data.
Step 13: Request a trial batch before placing a large order
Even if the initial sample meets requirements, the business should not immediately move to a high-value order if the supplier has never supplied the product before.
A medium-sized trial batch can be ordered to check:
- Consistency between multiple rolls.
- Stability between different bags.
- Variation in roll weight.
- Color differences.
- Consistency in twist, fineness, and surface treatment.
- Batch traceability.
- Packaging quality and transportation conditions.
A trial batch helps identify the gap between a “selected sample” and “mass-produced goods.”
Step 14: Retain samples and trial records
After testing, retain:
- Part of the unused thread roll.
- A section of thread that has passed through the machine.
- An acceptable seam sample.
- A representative defective seam sample.
- Supplier specification documents.
- Trial report.
- Photos or videos of problems.
- Seam strength test results.
- Batch code and sample receipt date.
These records allow the business to compare the official shipment when it arrives. If the actual quality differs from the approved sample, the factory has clear evidence for discussion with the supplier.
5. Sample monitoring form for bag sewing thread trials
The business can create an internal form containing the following information:
General information
- Trial date:
- Supplier:
- Sample code:
- Thread specification:
- Batch number:
- Roll weight:
- Machine type:
- Bag type:
- Person responsible:
Machine parameters
- Needle type:
- Needle size:
- Stitch length:
- Machine speed:
- Conveyor speed:
- Initial thread tension:
- Changes made during the trial:
Operating results
- Total bags run:
- Total acceptable bags:
- Number of thread breaks:
- Number of skipped stitches:
- Number of loose-seam bags:
- Total machine downtime:
- Thread weight used:
- Fiber buildup:
- Comments on unwinding performance:
Post-sewing results
- Seam appearance:
- Seam strength:
- Chain-stitch end retention:
- Bag-edge tearing:
- Conclusion: Accepted, conditionally accepted, or rejected.
6. Common mistakes when testing thread samples
Testing on only one machine
Machine conditions may differ between production stations within the factory. A thread that runs well on a new machine may not remain stable on an older machine.
If the thread batch is intended for multiple production lines, it should be tested on at least two representative machines.
Testing only one roll
One sample roll cannot fully reflect consistency throughout production. When sufficient samples are available, test multiple rolls, preferably from different packages.
Making too many machine adjustments to accommodate the thread
Some technicians may continuously change needles, reduce speed, loosen tension, and modify the thread path to make a sample run successfully. This result does not accurately reflect suitability for mass production.
The goal is to find thread that is compatible with the production line, not to modify the entire production line to accommodate one type of thread.
Focusing only on the number of thread breaks
The thread may not break but may still produce excessive fuzz, loosen the seam, consume more material, or unwind poorly. Therefore, multiple indicators should be evaluated simultaneously.
Failing to separate thread-related problems from machine-related problems
When a problem occurs, run the control sample again on the same machine. If the control thread also experiences the problem, the cause may be the equipment or bag material.
Not rechecking the official production batch
A sample passing the test does not mean every subsequent batch will automatically pass. Each incoming batch should undergo quick checks of appearance, weight, batch code, and operating performance before full-scale use.
7. How to calculate the actual cost of a thread sample
When selecting a supplier, do not compare only the price per kilogram. Actual usage cost includes:
- Actual cost = Thread purchase cost + machine downtime cost + labor cost for handling + value of defective products + productivity losses
For example, a new thread may be slightly cheaper but cause frequent production-line downtime during a shift, completely offsetting the savings from the purchase price.
Conversely, a thread with a higher purchase price but stable operation, lower defect rates, and higher actual output may provide a lower cost per bag.
8. When can you decide to place a large order?
A business should place a large order only when the thread sample simultaneously meets the following conditions:
- Meets technical requirements for the seam.
- Runs stably for a sufficient period.
- Has been tested under conditions close to actual production.
- Does not reduce production-line speed.
- Has appropriate consumption.
- Shows consistent quality between sample rolls.
- The trial batch produces results comparable to the initial sample.
- The supplier clearly confirms specifications, tolerances, and delivery conditions.
- There is a process for handling batches that do not match the approved sample.
For a new supplier, the order can be divided into multiple shipments during the initial stage. This helps reduce inventory risk and provides time to monitor consistency between batches.
Conclusion
The thread sample trial process on a production line is an important risk-control step before placing a large order. A good testing program should evaluate everything from thread-roll appearance, unwinding performance, and machine compatibility to seam strength, machine downtime frequency, and thread consumption.
Instead of making a decision based on selling price or a few individual specifications, the factory should use actual operating data. The most suitable thread is not necessarily the one with the highest tensile strength or lowest price, but the one that helps the production line run stably, produces seams that meet requirements, and maintains a reasonable production cost per bag.
Standardizing forms, retaining samples, and establishing acceptance criteria also helps businesses control quality between batches, communicate more clearly with suppliers, and reduce problems when new materials are introduced into mass production.
Frequently asked questions about the thread sample trial process
1. How long should a thread sample be tested?
The duration depends on the speed and scale of the production line. The sample should undergo at least a short trial and a continuous-run stage. For large orders or high-requirement products, it should be run for a full shift and tested using multiple rolls.
2. Can thread be evaluated only by its tensile strength?
It should not. Tensile strength is only one indicator. Sewing thread must also provide stable unwinding, abrasion resistance, heat resistance, stitch formation, and stable performance at high speed.
3. Does frequent breakage of a new thread sample mean that its quality is poor?
Not necessarily. The needle, thread guide, tension discs, thread path, and breakage location should first be checked. The control sample should be run again to distinguish machine-related causes from thread-related causes.
4. Is a new needle required when testing a thread sample?
A needle in good condition should be used. If the needle is old, worn, or has burrs, the test results may be inaccurate. However, the test conditions should also reflect the factory's actual operating conditions.
5. Why does a thread sample run well while the large production batch is unstable?
The initial sample may have been selected from a good roll, while the mass-production batch may be inconsistent. Therefore, a medium-sized trial batch should be ordered, with batch codes requested and a control sample retained.
6. Should thread price or machine-running stability be prioritized?
Evaluation should be based on the cost per acceptable product. A low thread price has limited value if it increases machine downtime, defect rates, and thread consumption.
>>> See more:
- 0 Comment


