


 Phan Van Hoang
- 24/07/2026
- 156
Table of Contents [Hide]
1. Why should seams be checked when changing to a new thread batch?
Two thread batches with the same specifications do not necessarily produce identical seams. Differences in evenness, twist, elongation, hairiness, surface smoothness, or thread-cone stability can affect stitch formation.
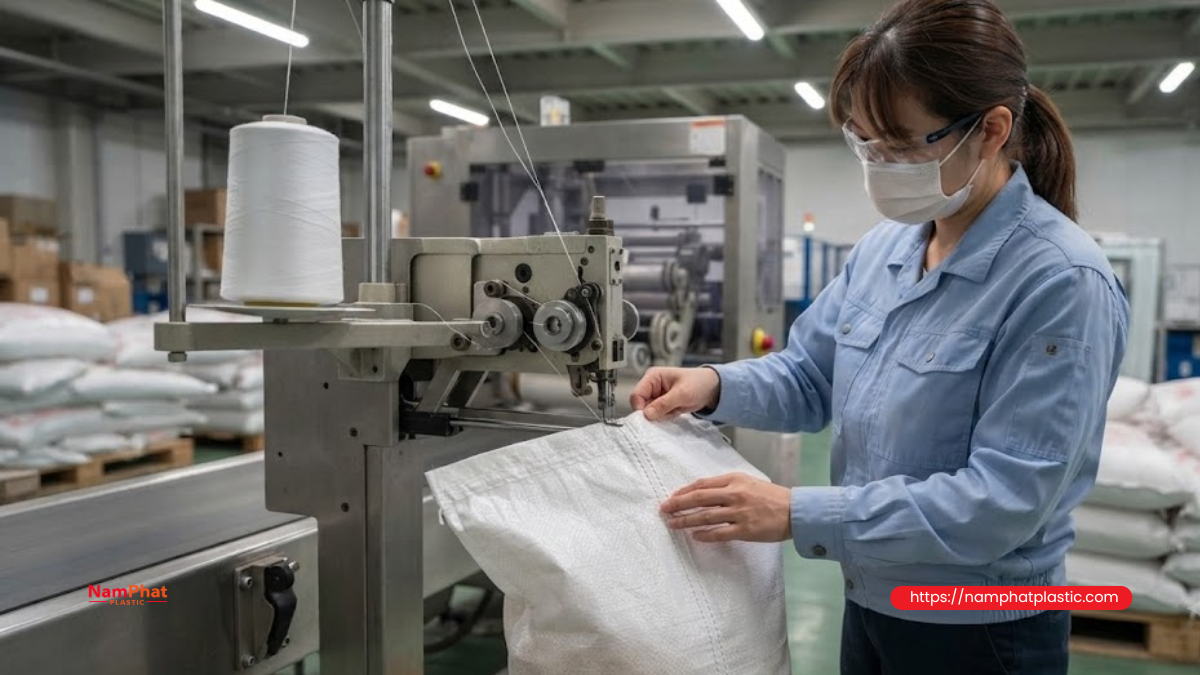
In many cases, the new thread batch can still run on the machine, but the seam may develop problems such as:
- The thread becomes excessively tensioned at certain points.
- The stitch does not grip the bag edge firmly.
- The thread becomes hairy or loses strength after passing through the needle.
- The looper thread becomes unstable when the machine runs at high speed.
- The seam can easily unravel after the thread tail is cut.
- The bag withstands the load immediately after sewing but tears open during stacking or transportation.
- Thread consumption increases abnormally.
- Thread-breakage, skipped-stitch, or machine-stop rates increase.
Therefore, when changing to a new sewing thread batch, a company should not only check whether the machine can run. More importantly, it should evaluate the actual seam strength under conditions that are as close as possible to production and actual use.
2. Seam strength does not depend solely on thread strength
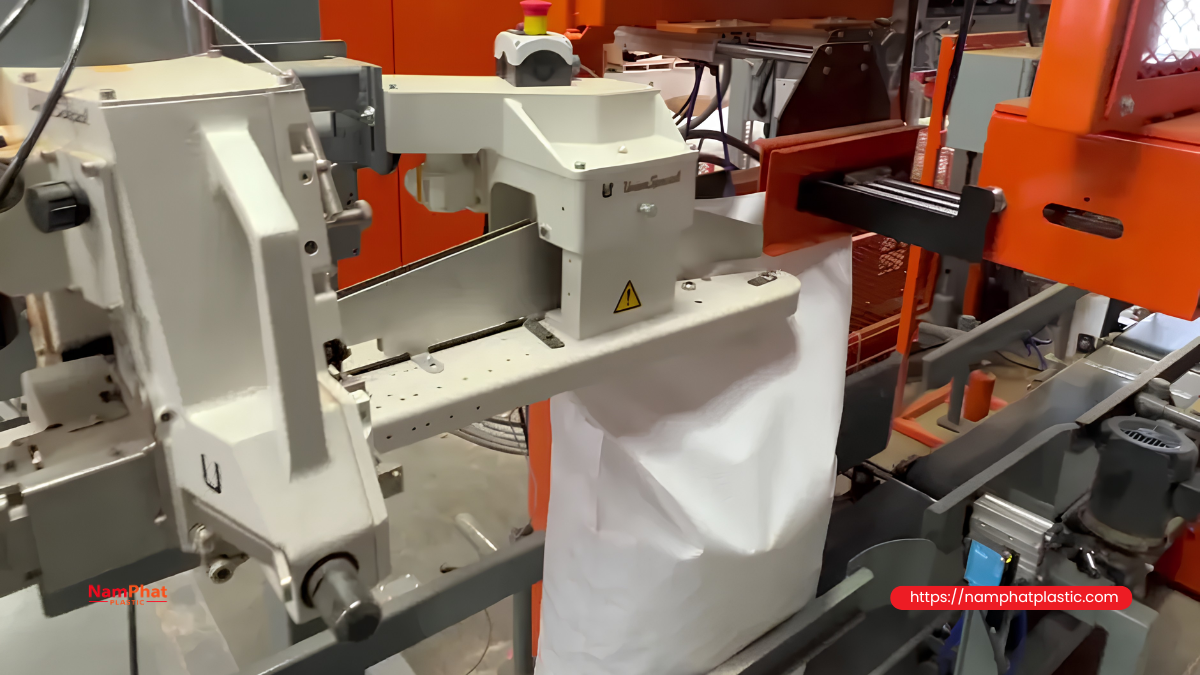
A common mistake is to assume that if a new thread batch has a high breaking force, the resulting seam will automatically be strong. In reality, seam strength is the combined result of many factors:
- Thread strength and elongation.
- Thread diameter uniformity.
- Degree of hairiness or fraying.
- Thread twist.
- Thread surface smoothness.
- Stitch type.
- Stitch density.
- Needle and looper thread tension.
- Condition of the needle, looper, thread guides, and tension discs.
- Machine speed.
- Structure and thickness of the bag material.
- Distance from the seam to the bag edge.
- Method of folding the edge or applying the bag-mouth tape.
- Forces applied when the bag is filled, lifted, dragged, and stacked.
A thread with high tensile strength but excessive stiffness or low elongation can still produce a seam that is prone to bursting when the bag is subjected to impact loading. Conversely, thread that is too soft or highly extensible can make the seam loose, deform, or cause stitches to unravel.
Therefore, machine running performance, stitch appearance, and the load-bearing capability of the entire seam should be evaluated together.
3. Important principles when checking a new thread batch
To obtain meaningful results, only one variable should be changed at a time. When testing a new thread batch, the other conditions should remain stable, including:
- The same sewing machine.
- The same needle type.
- The same bag type or material roll.
- The same edge-folding method.
- The same stitch length.
- The same machine speed.
- The same seam position.
- The same operator where possible.
- The same load-testing method.
If the thread is changed while the needle is replaced, machine speed is increased, and thread tension is adjusted at the same time, it becomes difficult to determine the cause when the seam fails.
The most reliable method is to use an old thread batch that has already been accepted as the control sample, then compare the new thread batch under the same conditions.
4. Preparation before testing a new thread batch
4.1. Record thread batch information
Each test batch should be clearly identified with the following information:
- Supplier or manufacturer.
- Batch number.
- Thread specification.
- Production date.
- Color.
- Cone weight.
- Number of cones in the batch.
- Material type.
- Twist level or twist direction if specifically required.
- Date of trial.
- Machine and production line used.
Recording the batch number makes it easier to trace the source if seam bursting or widespread thread breakage occurs later.
4.2. Take samples from multiple positions within the batch
Do not take only one cone from the top of a package for testing. A thread batch may vary between packages or between different positions within the packaging.
An internal sampling plan may be applied as follows:
| Thread batch size | Suggested number of cones for testing | Sampling positions |
| Under 100 cones | 3 cones | Beginning, middle, and end of the batch |
| 100–500 cones | 5 cones | Multiple packages and multiple layers |
| Over 500 cones | 5–10 cones | Distributed across packages, pallets, or production dates |
These are reference levels for in-house inspection. The company can increase the sample size for critical orders, high-load bags, or customers with strict quality requirements.
4.3. Inspect thread cones before installing them on the machine
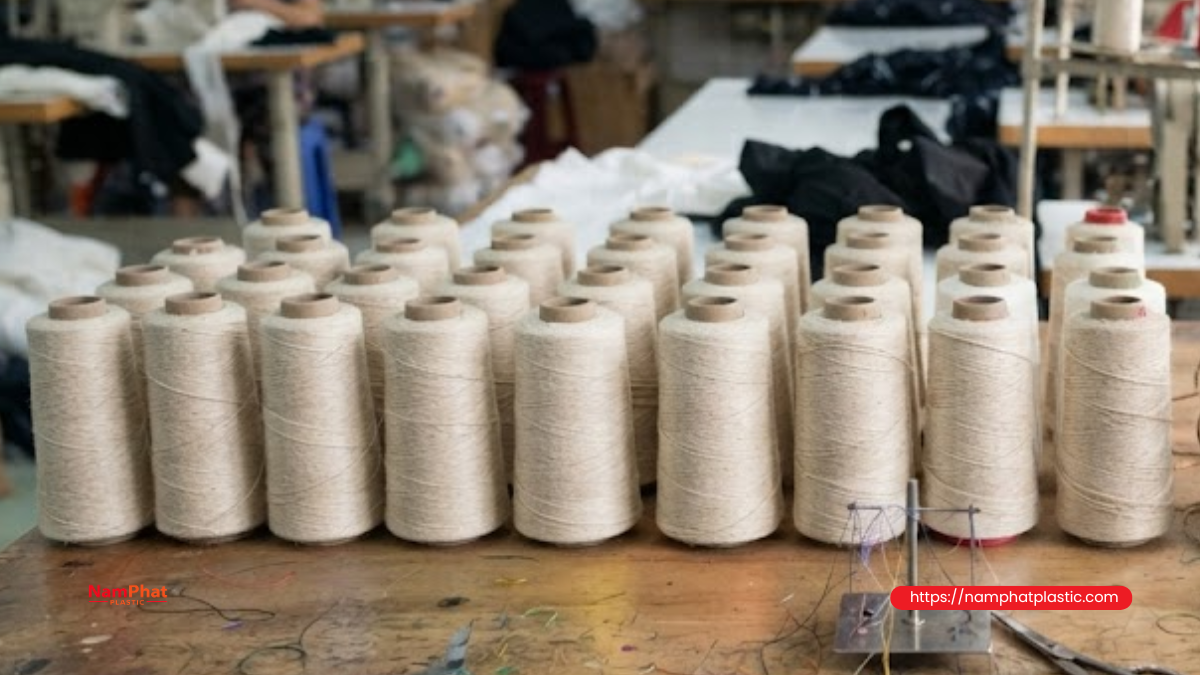
Before sewing, inspect each cone for:
- Dented, cracked, or loose cores.
- Thread wound too tightly or too loosely.
- Thread layers slipping downward.
- Uneven cone diameter.
- Large knots or joints.
- Color changes.
- Unusual oil or chemical odors.
- Excessive surface hairiness.
- Thread sticking or bonding between winding layers.
- Thread that is difficult to pull off or does not unwind evenly.
Then pull the thread by hand from several positions on the cone. The unwinding force should be relatively consistent, without alternating between being excessively light and suddenly jerking.
5. Procedure for checking seam strength after changing to a new thread batch
Step 1: Clean and inspect the machine before testing
Thread dust, fiber lint, and burrs in the thread-guiding system can distort test results. Before installing the new thread batch:
- Clean the thread guides.
- Clean the tension discs.
- Inspect the needle eye.
- Inspect the surface of the looper or stitch-forming mechanism.
- Remove sharp points, worn grooves, and burrs.
- Check whether the needle is bent or blunt.
- Inspect the thread path.
- Check the thread cutter.
- Lubricate the correct points according to the machine manufacturer's instructions.
If the thread guide is scratched, any thread batch can become hairy and break. In that case, concluding that the new thread batch is defective would be inaccurate.
Step 2: Run a control test using the old thread batch
Before installing the new thread batch, sew a group of samples using the old thread batch that is currently running stably. This provides the basis for comparison.
Record:
- Machine speed.
- Stitch length.
- Thread-tension knob position.
- Thread-breakage rate.
- Number of skipped stitches.
- Appearance of the top and bottom sides of the seam.
- Pull-test or load-test results.
- Failure mode when the sample is destroyed.
Each group should contain multiple samples; do not evaluate the result from a single seam.
Step 3: Install the new thread batch without adjusting the machine immediately
Install the new thread following the existing thread path. During the initial run, keep the old-batch settings unchanged so that the actual compatibility can be observed.
Run the machine at low speed first, then gradually increase it to production speed. During this process, monitor:
- Whether the thread unwinds evenly from the cone.
- Whether the cone vibrates or jumps.
- Whether the thread twists into loops before the guide.
- Whether the thread becomes hairy while passing through the tension discs.
- Whether the needle heats up faster than normal.
- Whether the machine produces unusual sounds.
- Whether the thread tension fluctuates periodically.
- Whether stitches remain stable at high speed.
If the seam does not meet requirements under the old settings, do not immediately conclude that the new thread batch is poor quality. First determine whether it only requires a minor adjustment or whether its characteristics differ significantly enough from the normal standard to be unsuitable for the machine.
Step 4: Visually inspect the seam
After the machine has stabilized, collect seam samples from the beginning, middle, and end of the test run.
Characteristics of an acceptable seam
- Stitches are evenly distributed.
- There are no abnormally long or short stitches.
- No skipped stitches.
- No obvious loose thread loops.
- Thread does not become noticeably hairy after sewing.
- The stitch-locking position remains relatively stable.
- The bag edge does not wrinkle or shrink excessively.
- The material is not cut or torn around the needle holes.
- The seam is neither excessively loose nor excessively tight.
- The seam end does not easily unravel after cutting.
Signs that the seam is excessively tight
- The bag edge shrinks.
- The material wrinkles along the seam.
- The thread sinks deeply into the bag surface.
- Needle holes become elongated.
- The seam breaks easily when bent or folded.
- The thread becomes excessively hairy after passing through the needle.
- Thread breakage is concentrated in high-load sections.
Signs that the seam is too loose
- Clearly visible thread loops.
- The stitches stretch easily.
- The seam shifts when the two layers of material are pulled apart by hand.
- The end of the chain stitch unravels easily.
- The seam may withstand direct tensile force but open easily under impact or vibration.
Step 5: Perform a hand pull test using a standardized method
A hand test does not replace a force-measuring device, but it is useful for rapid screening on the production line.
The important point is to use the same method for every sample rather than pulling each sample arbitrarily.
Procedure
- Cut a sample with the seam positioned in the center.
- Hold the two sides of the material at approximately equal distances from the seam.
- Pull perpendicular to the seam.
- Increase the force gradually without suddenly jerking during the first test.
- Observe the point at which deformation begins.
- Record which component fails first.
Then perform an additional quick or impact-style pull to simulate forces that occur when a bag is lifted, thrown, or dropped.
Three failure modes should be distinguished
Thread breaks first: This may be caused by weak thread, thread damage during sewing, excessive tension, an unsuitable needle, or poor heat resistance.
Bag material tears around the seam: The seam itself may already have sufficient strength, but the stitch density may be too high, the needle too large, the seam too close to the edge, or the bag material may have insufficient strength.
Stitches unravel or gradually open: This may be related to unbalanced tension, unstable stitch formation, an improperly secured chain-stitch end, or excessive thread surface smoothness.
The objective is not always to make the thread impossible to break. A good seam requires a balance between thread strength, stitch structure, and bag-material strength.
Step 6: Perform a pull test using a force-measuring device
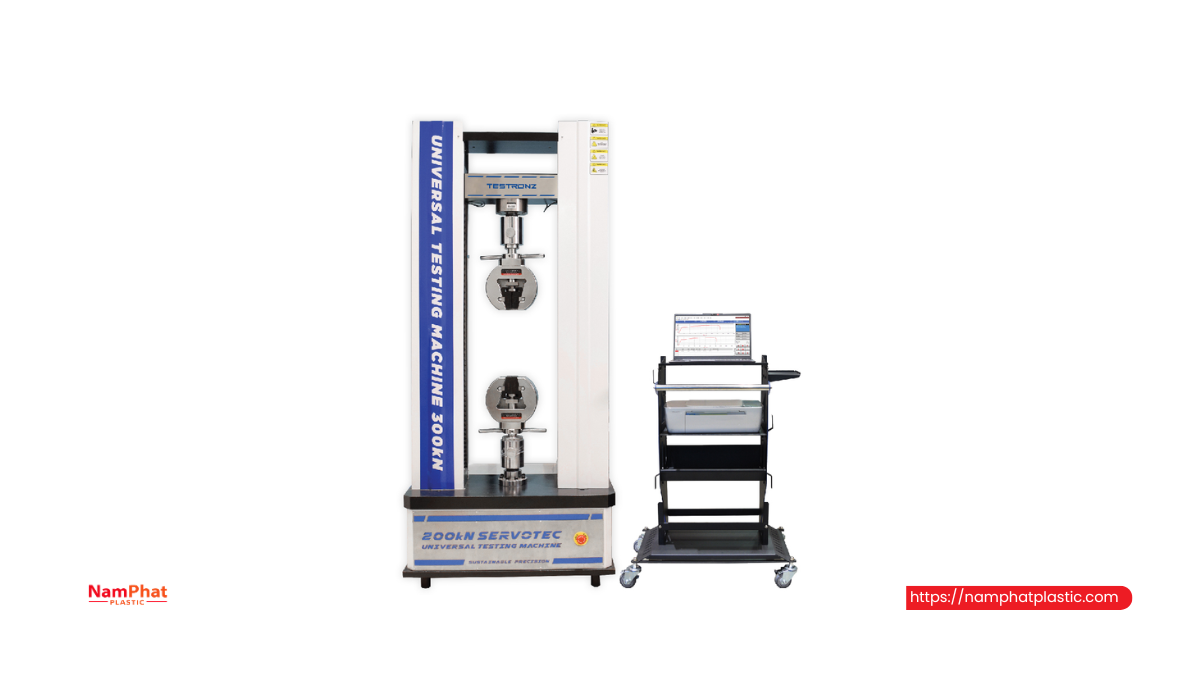
For factories requiring stable quality control, a tensile tester or force-measuring device with suitable grips should be used.
Sample preparation
- Cut samples to the same dimensions.
- Position the seam in the center of the sample.
- Keep the distance from the seam to the sample edge the same.
- Do not use samples with obvious material defects.
- Prepare samples from multiple thread cones.
- Prepare a control group using the old thread batch.
Record:
- Maximum force before sample failure.
- Sample elongation.
- Failure location.
- Failure mode.
- Variation between samples.
Relative comparison formula
The strength retention rate of the new thread batch compared with the control batch can be calculated as:
- Strength retention rate (%) = Average breaking force of new batch / Average breaking force of control batch × 100
Example:
- Old thread batch: average breaking force of 42 kgf.
- New thread batch: average breaking force of 40 kgf.
Strength retention rate:
- 40 / 42 × 100 = 95.2%
This figure alone is not enough to conclude whether the new thread batch passes. The variation between samples, failure location, and actual load requirements of the bag must also be considered.
A batch with a relatively high average force but large variation can still present a risk. For example, five samples producing 44, 43, 42, 41, and 25 kgf may be more concerning than a group consistently producing around 39–41 kgf.
Step 7: Perform a static load test on finished bags
Small-sample testing provides a quick assessment of the seam, but testing a finished bag more closely reflects actual use.
Procedure
- Sew the bag using the actual production machine and settings.
- Fill it with material or a simulated load equivalent to the actual weight.
- Position the bag in its actual-use orientation.
- Maintain the load for a period defined by the internal procedure.
- Monitor seam deformation.
- Recheck the bag after lifting and moving it.
Testing can be performed at several levels:
- The bag's rated load.
- A load above the rated load according to internal control requirements.
- A sustained load to evaluate elongation and stitch slippage.
- Repeated loading to simulate multiple lifting and handling cycles.
Do not select a load that exceeds the bag's design simply to “test for extra safety,” because the bag body, woven structure, or folded edge may become the limiting factor and obscure the objective of evaluating the thread batch.
Step 8: Perform drop or impact testing
A seam may withstand static loading but still burst when the bag is dropped. This occurs because impact force is applied over a very short period, creating a peak load much higher than that experienced while the bag is stationary.
When customers stack bags, throw them onto trucks, run them on conveyors, or lift them repeatedly, drop testing should be considered.
The following conditions should be standardized:
- Bag weight.
- Material inside.
- Drop height.
- Drop orientation.
- Number of drops.
- Impact surface.
- Seam position at impact.
The following orientations can be tested:
- Flat-face drop.
- Edge drop.
- Drop concentrated near the seam.
- Drop on the bag end or corner.
After each test, inspect:
- Whether the thread has broken.
- Whether the stitches have elongated.
- Whether the material around the needle holes has torn.
- Whether the seam end has unraveled.
- Whether the seam has shifted from its original position.
Step 9: Inspect after one production shift
A thread batch may run well for the first few minutes but develop problems during extended use. Therefore, it should be evaluated over a sufficiently long production period.
The following parameters should be monitored for each shift:
| Indicator | Old thread batch | New thread batch | Notes |
| Number of thread breaks | |||
| Number of skipped stitches | |||
| Number of rethreading events | |||
| Number of bags requiring resewing | |||
| Machine downtime | |||
| Number of thread cones used | |||
| Number of finished bags | |||
| Thread consumption | |||
| Number of failed load-test samples |
Shift-by-shift monitoring helps identify problems that cannot be observed during a short trial, such as:
- Uneven thread unwinding as the cone approaches its end.
- Fiber lint accumulating in the tension discs.
- The needle gradually heating during continuous operation.
- Tension changing as line speed increases.
- A high number of joints appearing in the middle of the cone.
- Uneven cone weight increasing the number of cone changes.
6. How to establish acceptance criteria for a new thread batch
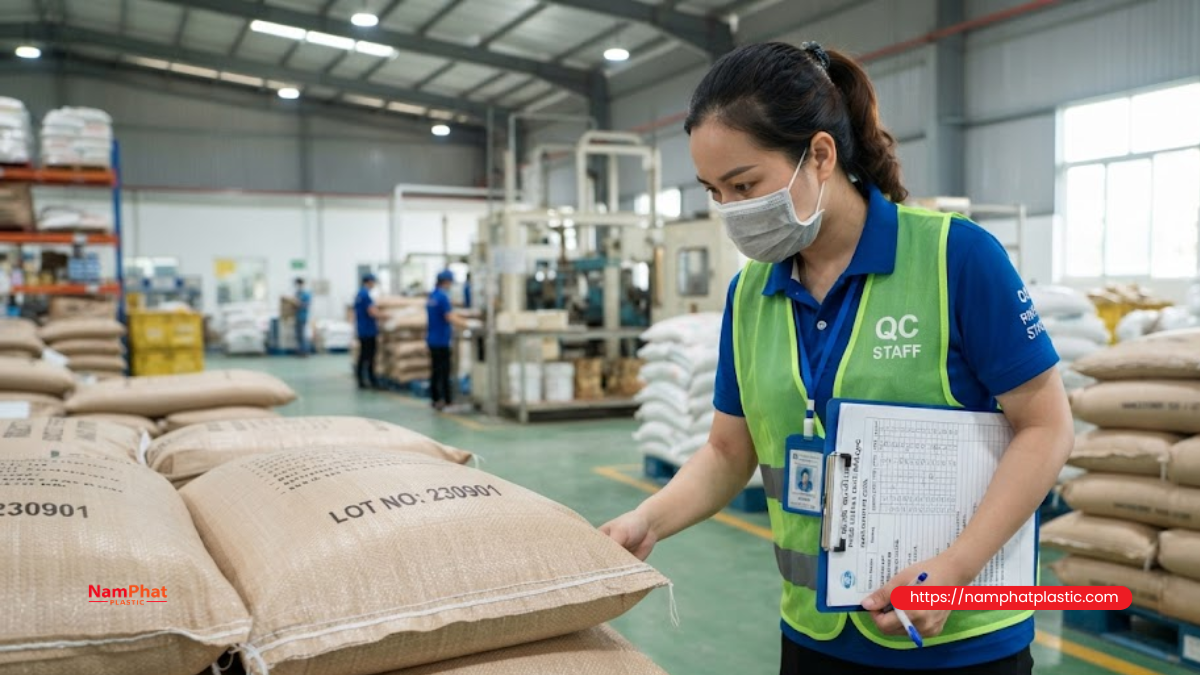
There is no single force level suitable for every bag type, sewing machine, and thread specification. The company should establish acceptance criteria based on three sources:
- Results from a thread batch that has been used stably.
- Actual load requirements of the product.
- Technical requirements or agreements with customers.
An internal acceptance criteria set may include:
- No serious defects during stitch formation.
- No abnormal increase in thread-breakage rate.
- The seam does not unravel after cutting and treating the stitch end.
- Average breaking force does not fall below the internal limit.
- Variation between samples remains within the permitted range.
- No abnormally weak sample.
- The bag passes the static load test.
- The bag passes the drop test under the specified conditions.
- The re-sewing rate does not increase significantly.
- Thread consumption does not increase unreasonably.
- The machine can operate at the target production speed.
The company may specify that a new thread batch must retain approximately 90–95% or more of the control sample's performance, depending on the product's safety margin. However, this should only be treated as an internal reference threshold. For high-load bags or harsh transportation conditions, a higher acceptance level should be established based on actual testing.
7. Should thread tension be adjusted when changing to a new batch?
Adjustment may be necessary because each thread batch can have different surface smoothness, stiffness, and unwinding characteristics. However, adjustment should be performed systematically.
Recommended adjustment sequence
- Run the new batch using the old settings.
- Observe the stitch formation.
- Determine whether the thread is too tight or too loose.
- Make small adjustments.
- Run another sufficiently long section.
- Inspect both the top and bottom sides of the seam.
- Repeat the pull test after each adjustment.
- Record the final settings.
Do not turn the thread-tension knob several turns at once. Excessive adjustment destroys the reference point and can make it difficult for the operator to determine which setting produces the best seam.
If the new thread batch only runs properly after the tension has to be loosened or tightened far beyond the normal range, it should be evaluated carefully. This may indicate that the new thread has characteristics significantly different from the current standard.
>>> See also: How to adjust bag sewing thread tension based on seam defects
8. Common mistakes when checking a new thread batch
Checking only the tensile strength of the loose thread
The tensile strength of thread before sewing does not fully represent its strength after passing through the tension unit, needle eye, and friction areas. The thread can be weakened by hairiness, heat, or bending during stitch formation.
Both the thread in the cone and the finished seam should be tested.
Running a trial at low speed and then accepting the batch
At low speed, the thread experiences less friction and the needle generates less heat. A thread batch may perform well at low speed but break continuously at production speed.
Testing at the actual operating speed is essential.
Testing only one cone
One good cone does not represent the entire batch. Samples should be taken from multiple packages and positions.
Changing multiple parameters at the same time
When the needle, thread, machine settings, and material are changed simultaneously, the test result can no longer be traced to a specific cause.
Only inspecting the seam immediately after sewing
Some seams stretch, loosen, or unravel after being subjected to load for a period of time. Testing should be performed after load holding or simulated transportation when necessary.
Failing to record the failure mode
Two samples may have the same breaking force, but if one fails because the thread breaks while the other fails because the bag body tears, these are two different situations. The failure mode helps identify the correct factor requiring adjustment.
Evaluating based on individual operator perception
One person may pull harder while another pulls more gently, producing inconsistent results. Sample dimensions, pulling direction, and force application should be standardized.
9. Analyzing causes when the seam made with the new batch is weaker than the old batch
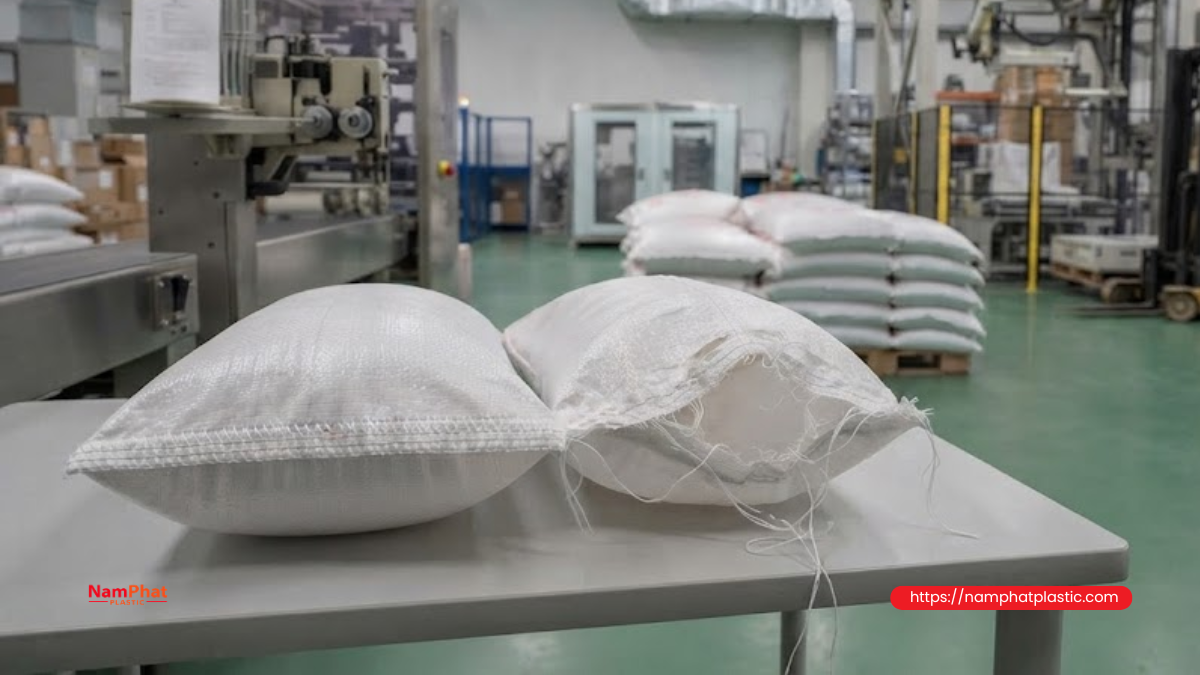
Thread breaks at the needle eye
Possible causes include:
- Needle is too small for the thread.
- Needle eye has a sharp edge.
- Needle overheats.
- Thread tension is too high.
- Thread is hairy or has broken filaments.
- Thread has poor abrasion resistance.
- Thread is damaged during guiding.
Seam is loose and stretches easily
Check:
- Thread tension.
- Thread loop-forming ability.
- Twist.
- Surface smoothness.
- Timing between needle and looper.
- Stitch density.
- Conveyor speed and sewing-machine speed.
Material tears along the seam
Possible causes commonly include:
- Stitch density is too high.
- Needle is too large.
- Needle is blunt or has burrs.
- Seam is too close to the edge.
- Tension is too high.
- Bag material is brittle or inconsistent.
- Edge fold is not the correct size.
Seam end unravels
Evaluate:
- Length of thread tail left after cutting.
- Method of securing the stitch end.
- Chain-stitch tension.
- Thread-cutting mechanism.
- Direction in which the bag is pulled after sewing.
- Surface smoothness of the new thread batch.
- Conveyor speed at the time of cutting.
Thread breaks randomly but the seam sample is still strong
This may be caused by unstable thread unwinding, knots or joints, defective thread sections, or diameter variation. The entire cone should be inspected rather than checking only average tensile strength.
10. New sewing thread batch inspection form
General information
- Supplier:
- Batch number:
- Thread specification:
- Date received:
- Test date:
- Test machine:
- Bag type:
- Bag load:
- Operator:
Machine parameters
- Needle type:
- Needle size:
- Stitch length:
- Machine speed:
- Initial thread tension:
- Tension after adjustment:
- Edge-folding method:
- Distance from seam to edge:
Machine running results
- Number of cones tested:
- Running time:
- Number of bags sewn:
- Number of thread breaks:
- Number of skipped stitches:
- Number of bags requiring resewing:
- Thread-hairiness:
- Needle-heating:
- Unwinding performance:
Seam-strength test results
- Number of pull-test samples:
- Average force:
- Minimum force:
- Maximum force:
- Failure mode:
- Load-test result:
- Drop-test result:
- Comparison with control batch:
Conclusion
- Passed and released for production.
- Passed with conditions.
- Requires further adjustment.
- Quarantined for reinspection.
- Failed and supplier feedback required.
11. Quick inspection checklist at the production line
Before accepting a new thread batch, confirm that:
- The batch number and supplier information have been recorded.
- Samples have been taken from multiple cones.
- Thread cones are not dented, displaced, or abnormally wound.
- Thread unwinds from the cone relatively evenly.
- The machine and thread-guiding system have been cleaned.
- The needle, looper, and tension discs have no burrs.
- A control sample has been run using the old thread batch.
- The new batch has initially been tested using the same settings as the old batch.
- The machine has been run at actual production speed.
- There are no skipped stitches or abnormal thread loops.
- The seam is neither excessively tight nor excessively loose.
- The thread does not become severely hairy after sewing.
- A pull test perpendicular to the seam has been performed.
- The failure location and failure mode have been recorded.
- A load test has been performed on finished bags.
- Impact or drop testing has been performed when required.
- Thread-breakage rate has been monitored during the shift.
- The results have been compared with the old thread batch.
- Samples and test records have been retained.
- The batch is released for mass production only after approval.
12. When should use of the new thread batch be temporarily suspended?
The thread batch should be quarantined and investigated further when any of the following signs occur:
- Multiple cones have unstable unwinding force.
- Thread repeatedly breaks on multiple machines.
- The seam is clearly weaker than the old batch.
- Results vary significantly between cones.
- Thread becomes hairy quickly after passing through the tension unit.
- Chain-stitch ends unravel more frequently than normal.
- The resewing rate increases.
- Machine speed has to be significantly reduced for stable operation.
- Too many machine parameters have to be changed.
- Knots, defective thread sections, or underweight cones occur frequently.
- Bags fail the internal load or drop test.
In this situation, preserve the defective cones, take photographs, retain thread samples and seam samples, and send specific test results to the supplier. Data-based feedback is more effective than general comments such as “the thread is weak” or “the thread does not run well.”
Conclusion
Checking seam strength after changing to a new thread batch should not stop at sewing a few lines and pulling them by hand. A reliable procedure should combine thread-cone inspection, control testing, stitch observation, pull testing, load testing, impact testing, and monitoring under actual production conditions.
The most important point is to keep the machine, needle, material, and speed conditions stable so that the effect of the new thread batch can be identified accurately. At the same time, the factory should establish control samples and acceptance limits for each group of bags.
With complete data, the factory can not only reduce the risk of seam bursting but also better control machine downtime, thread consumption, re-sewing rates, and complaints arising after delivery.
Frequently Asked Questions
1. Is it necessary to inspect every new sewing thread batch?
Yes. Even when purchasing from the same supplier, thread characteristics may vary between production batches. The level of inspection can be reduced for stable suppliers, but the batch-verification step should not be completely eliminated.
2. How many cones are enough for a trial?
The number of cones depends on batch size, product criticality, and the supplier's stability history. For routine inspection, at least three cones from different positions should be sampled. Large orders or high-load bags should use more samples.
3. Does thread breakage mean that the new thread batch has failed?
Not immediately. Thread tension, needle, looper, thread guides, needle temperature, machine speed, and bag structure must also be checked. If the new thread breaks on multiple machines under the same conditions while the old batch remains stable, the likelihood that the cause is related to the thread batch becomes higher.
4. Can hand testing alone be used to check seam strength?
A hand test is suitable for rapid screening, but it is difficult to apply the same force in every test. For important products, a force-measuring device and testing on finished bags should be used.
5. Does a high seam breaking force mean that the seam is good?
Not necessarily. It is necessary to examine how the seam fails, whether the stitches unravel, whether the material tears around the needle holes, and whether the results are consistent between samples.
6. Why does the new thread batch run well initially but break frequently after several hours?
Possible causes include fiber lint accumulating in the tension unit, the needle gradually heating, uneven thread unwinding from the inner layers of the cone, a high number of thread joints, or machine parameters changing as the production line speed increases.
>>> See also:
- 0 Comment


